It’s a pain when the zipper on your footwear breaks. That snug feeling around your foot is no longer possible, putting you in danger of rolling your ankle when you least expect it. Follow this simple guide on how to fix a boot zipper before you buy a new pair.
The first and most significant step is determining the full extent of the damage to your boot zipper. If the harm is minimal, you should repair it manually. Otherwise, if you see extensive damage that you cannot fix yourself, visit a cobbler for professional repairs.
Your zipper parted because a tooth didn’t match up somewhere along the way. To fix the problem, you’ll need to unzip the zipper to slightly below that spot. When you run into difficulties, suppress the desire to force the zipper down. Doing so might cause the teeth to distort or crack beyond correction. Instead, carefully wiggle, rotate, and yank it on one side.
Now it’s time to wax the zipper’s teeth. Go ahead and make your way into the crevices and the fastener itself. Slowly slide the zipper to and fro, making sure that all of the teeth are gripping. If you run into difficulties, reverse the zip, reapply a little more wax, and begin again. Once it’s back to normal, you can remove any remaining wax.
If the Karate Kid wax-on, wax-off method doesn’t do the trick, there are alternative ways to fix a boot zipper. You can use pliers to disassemble the stopper. Once the stopper is free, remove the slider and manually connect the fastener. Once again, grab the pliers and get the teeth to interlock. This is a delicate procedure, so you’ll need dainty pliers to do the job.
At this stage, inspect and remove any teeth that may be blocking the zipper from traveling smoothly. Then, load the slider by gliding it onto the two ends of the zipper. Finally, reinstall and secure the stopper. But be careful because too much force could end up breaking the stopper.
And there’s our simple guide on how to fix a boot zipper. If you need a zipper pull replacement, be sure to check FixnZip’s store; it’s your one-stop shop for all things zippers. Additionally, you can check out our other posts offering advice on how to correct broken zippers on all your other garments.
It can happen to anyone—while zipping your backpack, you overfill it, and the zipper splits. Or maybe your jacket zipper is splitting due to wear and tear. You don’t have to get rid of these items if you learn how to repair them. Find out why and how zippers split so that you can figure out how to fix your next broken zipper.
The fastener on your jacket, backpack, or another item may split for several reasons. There are a variety of causes for zipper failure. The most likely reason is that the slide is loose and unable to close the teeth anymore. Another possibility is that the teeth are out of line and won’t latch together.
A common solution to fixing your zipper is to use pliers to tighten the slide. If your zipper is separating, try pressing the slide together on the chain. Don’t make it so tight that it won’t glide. Make small adjustments until the slide is tight enough to fasten the teeth. This solution is often a temporary fix, and only in case of emergency. After tightening the slider, it often becomes loose again, until eventually the slider is unusable. By using pliers, you also run the risk damaging the zipper teeth (making the issue worse) or damaging the slider.
Inspect your zipper for missing or crooked teeth. Use pliers to realign any out-of-place zipper teeth. Once they are straight, try using your zipper again. Continue to align the teeth and remove any threads until the slider glides smoothly. This solution carries the same risk and warning as the previous solution. Taking a pair of pliers to your zipper can damage it, and possibly make the original problem worse.
If you can’t repair your current slider or it falls off, use an easy replacement zipper to fix your item. Attach a FixNZip to your bag or jacket to easily replace the slider and start using your item again (see video below). The FixnZip is easy to use and fits on any size zipper. Check our How To page for more information. You don't need to be a DIY expert to use the FixnZip. It goes on without tools or sewing, making it the best zipper repair kit on the market. It's also significantly cheaper than paying to have the old zipper torn out, and a new one sewn in.
Once you know why and how zippers split, you’ll know how to fix them. You can save money by mending your items rather than buying new ones when they break. A luggage or wardrobe malfunction can occur at any time. Be prepared with the right tools to solve the problem. Keep the FixnZip around to help fix all your broken zippers. Shop online to find yours today.
Have you ever been fumbling with your coat and noticed the number on the back of the zipper? You may not know what it’s there for, even though it has a specific meaning. So what does the number on the back of zippers mean? It’s time to find out!
Just about every article of clothing has a size indicator. Zippers are no different because the number on the back signifies the length of the fastener. The number represents the width of the zipper’s teeth in millimeters. The manufacturer measures this when the zipper is in its fastened position and the teeth interlock. In some cases, this is an approximation. Therefore, you may have to delve deeper into the exact number.
The most prevalent sizes you’ll see on a zipper are 4 and 5 (4 mm and 5 mm). As a reference point, items like purses and pillows are usually 4.5 mm. Backpacks and jackets are 5 mm. For tents and other oversized items, you’ll likely see a 10 mm zipper.
It’s worth noting that the number on the back of the zipper doesn’t always correspond to its gauge size. On occasion, that number indicates the mold of the slider. There is a chance that the number you see doesn’t represent the size of the teeth, leading to some confusion. The slider has a different identification on its rear, and you can differentiate and narrow down the precise size you need.
If you enjoy designing clothes, then it helps to know your zipper’s size and weight. You can get a zipper repair kit or purchase a new one to replace a broken zipper on a pillow or dress. But things won’t work well if you buy an 8 mm zipper for something that previously had a 4 mm zipper.
Knowing what the number on the back of zippers means keeps you from giving up on fixing your favorite pillow or piece of attire. FixnZip offers several replacement and repair tools to help you repair anything from a tent to a boat cover. Our kits are compatible with plastic and metal zippers, so we’re your one-stop shop for your zipper concerns.
A broken zipper on any piece of clothing is enough to make you want to cry. However, when that piece of apparel is a dress, it's disheartening. You can utilize a jacket, coat, or possibly even a pair of pants without a zipper. But when a zipper comes loose on a dress, you'll leave it on the hanger until you repair it.
Several things can go wrong with the dress fastener, so it helps to know what you're looking for and how to fix it before you lose all hope. Use this simple guide on how to fix a dress zipper so you can use this skill for the rest of your life.
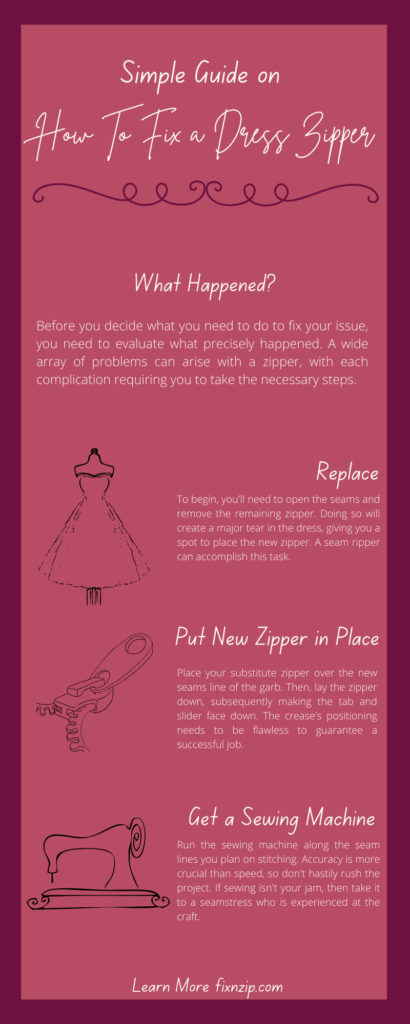
Before you decide what you need to do to fix your issue, you need to evaluate what precisely happened. A wide array of problems can arise with a zipper, with each complication requiring you to take the necessary steps. Thus, let's go over the hurdles you may need to jump through if your fastener gives you a headache.
Of all the problems a zipper can cause, this one might be the most maddening. We've all had the moment where a zipper goes up and down on the tracks, but it won't clench. The odds are this is your favorite dress because this problem occurs due to overuse. Luckily, there's no need to retire your beloved piece of attire since this problem is fixable.
Rather than taking the entire zipper apart, you should attempt to replace the slider with a zipper repair kit or a pair of pliers. Make the side gap narrow until you correct the slider, and repeat the process with the lower and upper gaps. Proceed with caution because you don't want to break the slider altogether.
The fabric that binds the zipper to the dress may tear, requiring you to follow similar steps if it doesn't close. You will need to use those pliers to make the slider wider and smoothly put the teeth on each side. Go ahead and test it out to see how things are fitting. If it's still off, you can adjust with the pliers to reattach it effectively.
When you are in a rush or feel flustered, you might hastily try and zip your dress up. The swift motion may cause the fabric to stick in the zipper's teeth. Any misalignment of the teeth can throw a zipper off, including loose hair. If it is something small like hair, you should be able to remove the hair with no issue.
It's feasible to misplace the zipper tab, despite being hard to imagine it happening. Fortunately, this mishap isn't serious enough to keep the zipper from working. Some intuition and simple resources can fix this crucial part of the zipper.
Another side effect of overusing a zipper is that it can become strangely slow. But there is an uncomplicated answer to this dilemma: lubrication. Apply Vasoline, petroleum jelly, or any comparable lubricant and rub it on the teeth. Try to certify that you aren't burying the teeth in wax, or it will move even slower.
Finally, the last and worst, that can happen with a zipper is if it loses some of its teeth. Missing teeth means you will have to replace the zipper completely. You can try any methods above, but it will be a lost cause.
To begin, you'll need to open the seams and remove the remaining zipper. Doing so will create a major tear in the dress, giving you a spot to place the new zipper. A seam ripper can accomplish this task.
Once the seam ripper does its job, you will need to apply a temporary stitch to keep everything together. Turn the garment inside out and pull the seams until they touch, and construct a quick stitch. You'll want to use a different color thread to spot and remove it quickly. Lastly, follow the crease perfectly, so the dress still looks the same.
With the right prep work complete, you can start the repair. Place your substitute zipper over the new seams line of the garb. Then, lay the zipper down, subsequently making the tab and slider face down. The crease's positioning needs to be flawless to guarantee a successful job.
Use the same strategy as the previous temporary stitch to add the new fastener. Although, you will need to lock it in place. This is helpful when using a sewing machine because everything needs to line up seamlessly.
To reinforce the new zipper permanently, get your hands on a sewing machine. Take it safe and slow and confirm the alignment before using the device. You want to guarantee that there will be no snags when the machine is running.
Run the sewing machine along the seam lines you plan on stitching. Accuracy is more crucial than speed, so don't hastily rush the project. If sewing isn't your jam, then take it to a seamstress who is experienced at the craft.
Congratulations on replacing your zipper! This is cause for a celebration, but you'll feel better once the work area is spotless. Pick up the tacking stitches and discarded threads that made their way to the floor. Once everything is pure again, you can test your craftmanship and see if the new zipper is adequate.
Hopefully, this simple guide on how to fix a dress zipper finds you well. At FixnZip, we are here to help you in your time of despair and fix that zipper before you give up on that dress and other apparel for good. Our sturdy replacement zippers will fix anything from a dress to a tent to your Jeep's canvas! Our FixnZip replacement fasteners are compatible with metal and plastic to prevent you from needing replacement zippers again. Please contact us with any questions about our products. We’re more than happy to help!
You may occasionally run into another broken zipper. No one wants to replace a new tent or favorite jacket whenever the zipper stops working. Knowing how to repair a zipper that doesn’t close the teeth can save you money and stress. Find out why zippers break and how to fix them.
Your zipper may not close if it becomes stuck. Getting your slider to move over a stuck zipper may require some maintenance. First, you should inspect the teeth to see if anything has become caught in them. Sometimes, loose threads or fabric may get into your fastener. Further, grime or dirt in the teeth can also cause an issue. But it’s possible to unstick a zipper that’s jammed. You should clean the zipper and grease the teeth so that the slider glides easily.
Your zipper may not close properly if the slider is loose. A slider may loosen over time due to wear and tear. To fix it, use pliers to pinch the slider until it’s tight enough for the zipper to work. Be careful not to pinch it too tightly, though. Otherwise, it will become stuck.
Missing or broken zipper teeth can prevent your fastener from working. In this case, you may need to replace the entire zipper with a repair kit. While you can use pliers to put bent teeth back in place, you’ll need a new chair if the teeth are altogether missing.
The most important element to any zipper is the slider. You need something to pinch the teeth together to engage the mechanism. Using your hands won’t work. If your slider breaks, it may be challenging to use it to close the teeth. Whether due to wear and tear or an accident, your slider may lose its pull. Or it may crack. While you can attach a piece of twine or rope to your slider to replace the pull, you’ll need a zipper pull replacement piece if the entire slider has become damaged.
Can your zipper be repaired? Use a FixnZip when you don’t know how to repair a zipper that doesn’t close the teeth. With this replacement piece, you use a thumbscrew to customize the tightness of the slide. Stop throwing away broken jackets and backpacks and repair them with the FixnZip.
Check out our “How To” page or the video below for more specifics on repairing zippers.
The superior fastener, zippers are on all sorts of items, from backpacks to jackets. But if you sew, you can customize them for any kind of use. The most common type of zipper used for sewing is known as a continuous zipper, which is a long chain. Use this sewer’s guide on how to shorten a zipper to find out how to work with this material.
Learn ways to shorten any type of zipper with our how-to guide. Whether you use a sewing machine or sew by hand, you’ll find what you need to know. Keep reading to learn more about working with zippers.
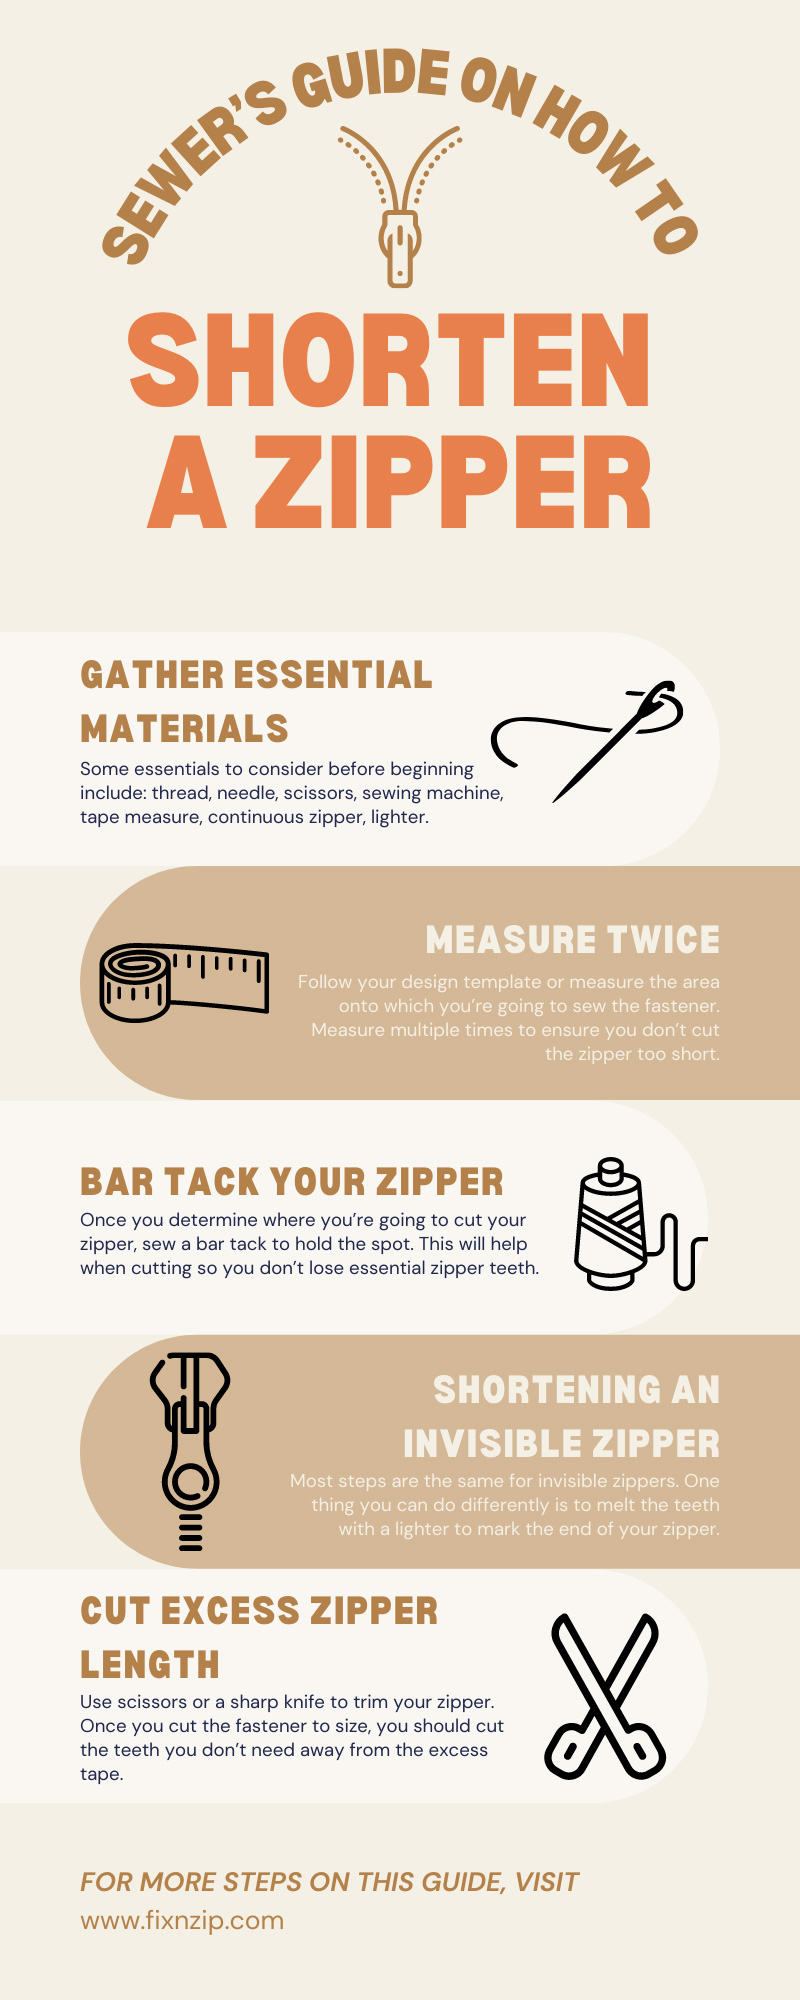
Before you start hacking away at a zipper you wish to shorten, gather the essential materials you’ll need to complete the project. It only requires a few items to change the length of a zipper, and you may have alternatives. Some essentials to consider before beginning include:
The first step to shortening a zipper is determining how long you want it to be. Follow your design template or measure the area onto which you’re going to sew the fastener. Measure multiple times to ensure you don’t cut the zipper too short. When shortening a zipper, you should measure from the bottom stop. Leave at least two centimeters of excess material and remember to mark where you want the zipper to end. You can use chalk to mark where you want your zipper to stop.
Once you determine where you’re going to cut your zipper, sew a bar tack to hold the spot. This will help when cutting so you don’t lose essential zipper teeth. You can create a bar track by hand or with a machine. You’ll make zigzag stitches to form the track and hold the material in place. If using a machine, you simply need to put the setting on a wide zigzag stitch that you keep close together to form a line.
Most steps are the same for invisible zippers. One thing you can do differently is to melt the teeth with a lighter to mark the end of your zipper. Since it uses plastic teeth, this technique will create a stop, meshing the teeth together.
Use scissors or a sharp knife to trim your zipper. Once you cut the fastener to size, you should cut the teeth you don’t need away from the excess tape. This will leave you with two pieces of tape hanging from the zipper. You can use them to sew the zipper to your item.
To remove teeth from any type of plastic zipper, you can cut the chain away. Use scissors to trim close to the coil. You can also use scissors to cut through plastic. Plastic coil zippers are easier to work with because they’re flexible and versatile.
Working with metal fasteners is different from plastic. You can’t cut the teeth away without destroying too much of the tape and chain. You’ll use pliers to remove excess teeth from a metal zipper. After you cut the chain, you should split it and remove each individual nob that you don’t need. Be careful while using pliers. The teeth won’t slide off easily, so you may need to work at them for a time.
Every zipper has stops. Stops are the pieces at the top and bottom of the zipper that prevent the slider from falling off. Working with continuous zippers gives you options to customize your fastener. Even if you are changing the length of a metal zipper, you’ll need to add new metal stop to the bottom of the chain.
You can add stops or a box and insertion pin depending on the type of zipper you need. Use the box and insertion pin elements for separating zippers. Remember to consider whether you want the pin on the left or right.
Once you add the stops to the bottom of the zipper, you’ll need to close the ends. Use a backing tape to attach the excess ends and keep them in line with the original zipper shape. Sew zigzags across the tape and backing for a secure hold. The tape will help hold the stops in place on a non-separating zipper.
Once your zipper is complete, you’ll need a slider so you can operate it. Some come with fasteners, but you may need to add your own. Use a zipper repair kit such as the FixNZip to attach a slider with ease. If using a traditional pull tab, you can slip it onto the zipper when it’s open or closed. Simply slide the teeth into the slider so they are even with one another. Then pull the tab to engage the slider and use your zipper.
You may need to shorten a zipper for a myriad of reasons. Perhaps you make clothing like theatre costumes or mend items like trousers and wedding dresses. When the size of these items drastically changes, you may need to shorten the zipper. You can shorten pre-existing zippers the same as a continuous one. Still, you should begin by cutting the zipper away from the fabric and reattach it once it’s the correct length.
Follow our sewer’s guide on how to shorten a zipper and keep these tips and tricks in mind. Always measure before you cut and remember to use a bar tack to hold the teeth in place. Different types of zippers require different techniques. For instance, you can cut through plastic but not metal. Keep in mind how each zipper works so you can create something perfect each time you sew.
Invisible zippers are essential for all sorts of reasons. They exist on your favorite dresses, backpacks, and other quality items. A hidden zipper allows for function without sacrificing style, but how do they work? Find out what makes an invisible zipper invisible.
Invisible zippers are specific types of zippers that you can’t see on clothing. They typically have a plastic coil to allow for flexibility and stability. At best, you might see a seam where an invisible zipper is hiding.
When you separate invisible zippers, you’ll notice that the teeth fold in toward the fabric. This characteristic is what helps make them invisible, as it prevents the zipper from showing. Since they coil in, you need to iron the zipper before sewing it onto a garment. Further, you must line the zipper pieces up with your edge to ensure they attach but don’t show.
If you don’t have an invisible zipper, you can create one. By making a lap, pocket, or fly front, you can conceal the zipper with the fabric of your garment. This makeshift invisible zipper has the same effect as an actual one.
Invisible zippers are necessary for several reasons. Clothing manufacturers hide them for style. Certain outfits require zippers but look better without them. Furthermore, some items require hidden zippers so that the fasteners don’t get wet. For instance, high-quality camping equipment and marine gear may feature invisible zippers so that they’re more likely to stay clean.
Even the nicest zippers can separate and jam. Especially with high-quality items, it’s smart to keep a zipper replacement kit on hand. Knowing what makes an invisible zipper invisible is important if you own waterproof gear. It may be critical to the function of your equipment. Keep your zippers in good shape to maintain the integrity of your clothing, backpacks, and more.
It might surprise you to learn that zippers are complex devices made up of various components. All of their parts work together to keep materials stuck together. A well-working zipper is strong, flexible, and easy to use while complimenting the item it is zipping.
One thing to consider about your zippers is their ability to “lock.” The terms “locking” and “non-locking” refer to how a slider stays in place. Depending on the item, one type of zipper might be better than the other. Explore the differences between locking and non-locking zippers to understand the various elements of your favorite zipped things.
As the name suggests, locking zippers have sliders that “lock” in place. This means that they will not move even when you manipulate other parts of the zipper. A pin installed inside the zipper slider sits between teeth to prevent movement until you pull the zipper tab.
Sometimes tension within an item can put pressure on a zipper, allowing it to open. Locking zippers prevent this from happening. These kinds of zippers work well on things that need more security and usually exist on things like:
The main difference between locking and non-locking zippers is the presence or absence of the locking pin. Unlike locking zippers, non-locking zippers have a mechanism that keeps the slider from moving. This type of slider will move if you pull on the zipper tape or manually separate the teeth.
While a locking mechanism securely binds materials together, non-locking zippers have more freedom to move in any direction. They are less likely to “stay put” when any kind of pressure tries to push it out of place. However, these zippers operate well with things that people need to open or close quickly, such as:
Understanding the various types of zippers allows you to make good decisions about your zipper-related projects and items. Fix N Zip is here to help you make those choices and fix any problems you may encounter along the way. Happy zipping!
Do you pay much attention to your zippers? You might if you spent a lot of money on them. The wonderful world of zippers goes much deeper than coil and molded plastic. What you need to know about luxury zippers is how they’re made and where to find them.
Manufacturers take extra care to manufacture a luxury zipper. They are typically made of metal. Some are handcrafted, and they are typically smooth and easy to use. High-quality zippers look chic and feature zipper sliders that match the teeth in both color and style.
High-quality zippers are used on luxurious items. Expensive bags and jackets feature luxury zippers you don’t see everywhere. These fasteners complement your item and stand out against the fabric. Some feature unique pull tabs that make it look like a unique accessory.
The best brands in the business produce zippers you’d be proud to have on your clothes or accessories. Wear known zipper brands like fashion statements when they appear on articles of clothing and other products. Names to recognize include:
Manufacturers of luxury items use luxury zippers so that their products will last longer and look better. Find jackets and backpacks with luxury zippers for a better experience. Though you may pay a little extra, it’s worth it in the long run. Sustainable fashion starts with high quality. Avoid items with cheap zippers so you can use your favorite things forever.
Once you experience luxury, you may never go back. What you need to know about luxury zippers is that they are made from high-quality materials and found on luxurious items. Crafted with care, these fasteners may still break if you tug on them too hard or at an odd angle. If anything happens to the pull tab on your luxury item, get a metal replacement piece from FixNZip.
Measure twice—cut once. The sign of a good crafter is in the precision of their work, and the same is true with fasteners. One of the trickiest items to sew, zippers require careful measuring. Your jacket may not fit quite right, and your backpack might not close properly if the zipper is too long or too short. Understanding the ways to measure zipper lengths correctly is essential, whether you’re creating something from scratch or making a repair. Even if you measure multiple times, you must know what you’re doing with zippers.
Figuring out the length of a zipper is different from its gauge. Still, we’ll discuss how to determine both, so you’ll always get the right ones for your repair or project. While measuring zippers is simple, it’s not necessarily common sense. Use this guide to help you determine the size you need.
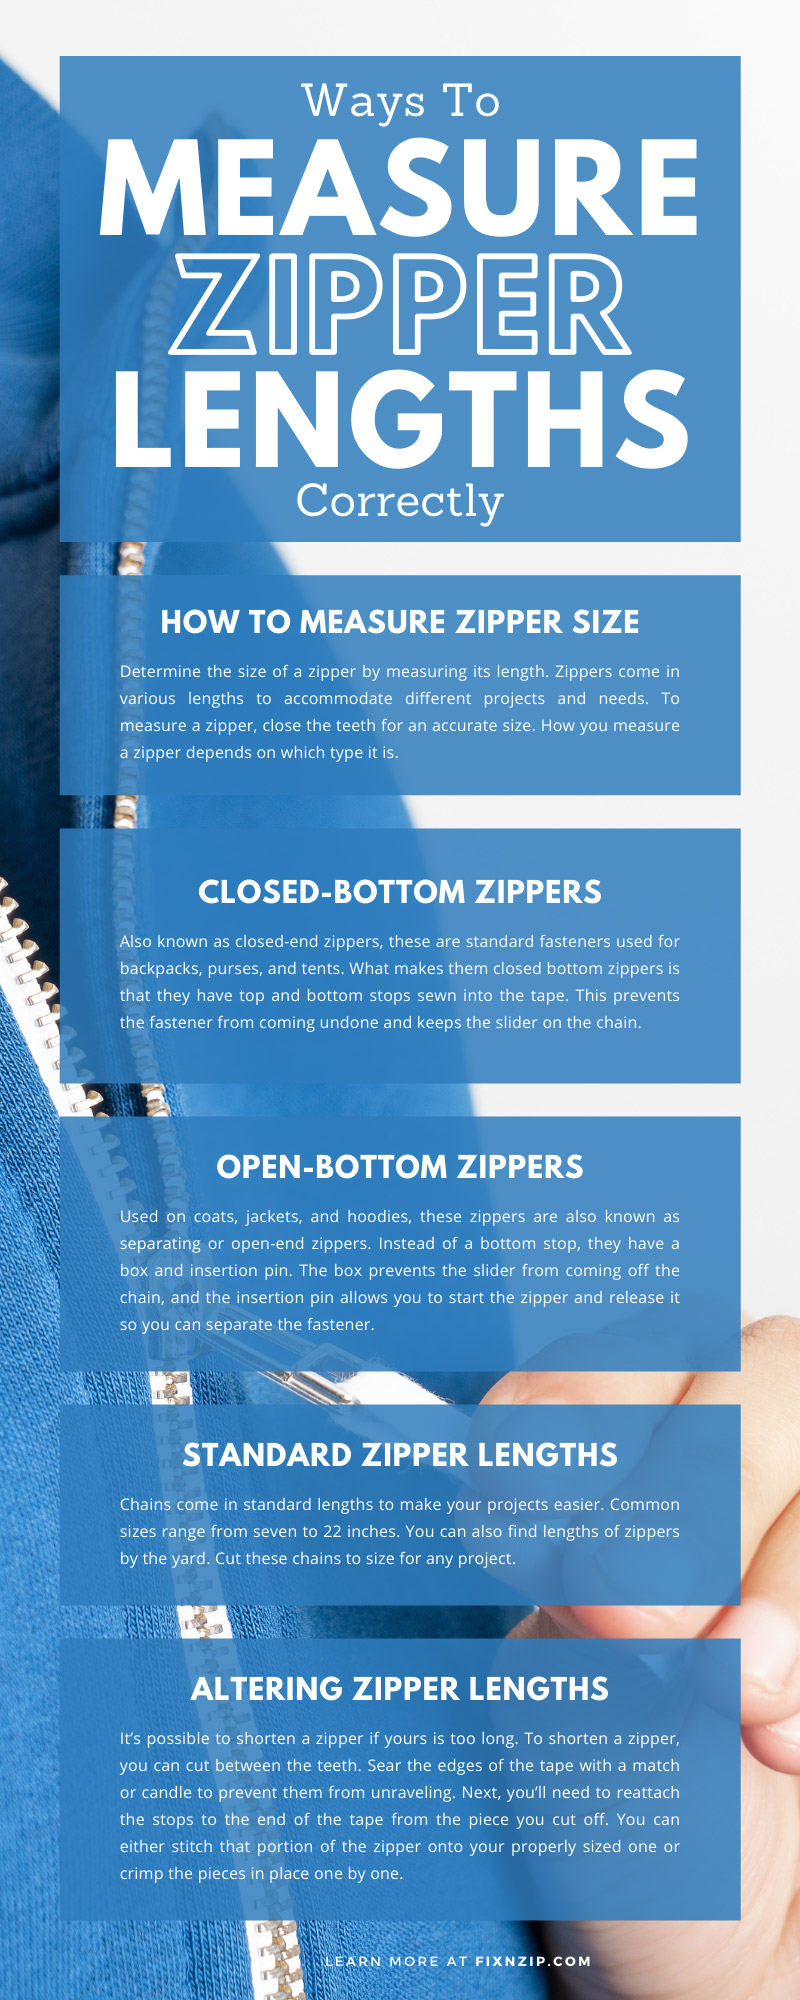
Determine the size of a zipper by measuring its length. Zippers come in various lengths to accommodate different projects and needs. To measure a zipper, close the teeth for an accurate size. How you measure a zipper depends on which type it is.
Also known as closed-end zippers, these are standard fasteners used for backpacks, purses, and tents. What makes them closed bottom zippers is that they have top and bottom stops sewn into the tape. This prevents the fastener from coming undone and keeps the slider on the chain.
To find the length, measure from the top stop to the bottom stop. Though the zipper will have excess pieces of tape on the ends, you only want to measure the components of the chain. It helps to lay the zipper flat while measuring.
Used on coats, jackets, and hoodies, these zippers are also known as separating or open-end zippers. Instead of a bottom stop, they have a box and insertion pin. The box prevents the slider from coming off the chain, and the insertion pin allows you to start the zipper and release it so you can separate the fastener.
To measure these types of zippers, pay attention to the space between the top stop and the box with the insertion pin. Your separating zipper may have a left or right insertion pin depending on which way you want it to open. These fasteners also have extra tape at the top and bottom. It helps when sewing the item into clothing.
Chains come in standard lengths to make your projects easier. Common sizes range from seven to 22 inches. You can also find lengths of zippers by the yard. Cut these chains to size for any project.
It’s possible to shorten a zipper if yours is too long. To shorten a zipper, you can cut between the teeth. Sear the edges of the tape with a match or candle to prevent them from unraveling. Next, you’ll need to reattach the stops to the end of the tape from the piece you cut off. You can either stitch that portion of the zipper onto your properly sized one or crimp the pieces in place one by one.
In addition to length, it’s important to know the gauge of a zipper when determining the size. Gauge refers to the width of the teeth and may determine the quality of the fastener and product it’s attached to. Thicker zippers are typically more durable; they work well with sturdy clothing and materials. Though zippers with a higher gauge tend to be made of strong materials like metal, smaller ones are typically flexible because they’re made from quality plastic.
To find out how wide a zipper is, measure it with the teeth closed. Typically, you’ll measure in millimeters. Using a ruler or measuring tape, measure from left to right across the teeth. You may also find the gauge by looking on the back of the slider. Common zipper widths include #3, #3.5, #5, and #7.
The purpose of a zipper is to fasten an item and keep it closed. If your zipper isn’t long enough, it may not perform its function. You want to measure properly when working with zippers to ensure you use the right length. In addition to measuring the zipper, measure the space where you plan to insert your fastener, so you know which size you need.
You may measure zippers to make clothing or repair them. Either way, you’ll want to keep them clean, so you don’t have to replace them time and time again. The best ways to keep zippers in good condition include:
Check descriptions when ordering zippers to ensure you get what you need. The best places to find full chains of various sizes are craft stores and online retailers. If you are repairing an item, use the opportunity to make your zipper stronger.
For instance, if your slider or pull-tab breaks, replace it using a zipper repair kit from FixNZip. The durable replacement slider is made of nickel and easy to use. Simply open the thumbscrew and place the tab over the chain. Next, tighten it enough that it will glide and close the teeth. This unique zipper kit comes in various sizes to accommodate any gauge or chain.
Whether you’re repairing clothing or making something new, you’ll need to measure. Know the ways to measure zipper lengths correctly to avoid mistakes. It’s common to order the wrong size because you mismeasured. To find the length of a zipper, you’ll just measure the metal or plastic portion. Don’t include the excess tape at the ends or you’ll end up back at the craft store. The gauge is just as important as the length. Ensure you’re using quality zippers when you pay attention to the width and material. Lastly, maintain your zippers so you don’t have to keep repairing them. Keep a repair kit around so you never have to stress about a broken zipper again!