When you ride your motorcycle at fast speeds down the highway, it’s normal for your gear to take a little wear and tear. Because of everything from regular bending and use to the heat and speed on the road, the zippers on your gear may need some maintenance. No matter what damage you’re dealing with, we’ve got some helpful tips for repairing a broken zipper on your motorcycle gear. These tips will make your jackets and gloves feel fresh and make you ready to get back on the bike.
Sometimes, you get lucky, and the zipper on your gear may not actually be broken but rather jammed or stuck. Riding on the road often kicks up a lot of dirt and debris that may make its way into the zippers of your gloves or jacket.
If this goes on for too long, your zipper may get stuck and feel like it won’t work anymore. Thankfully, repairing a jammed zipper is a relatively quick and easy process. You can use a designated lubricant to loosen it up or utilize items from around the house.
Some items that help loosen up a stuck zipper are olive oil, lip balm, or graphite pencils. Apply a little bit of the substance around the top and bottom of the slider on the track of the zipper. Then, attempt to move the slider up and down. With any luck, it will loosen up, and your zipper will be working again.
Once you have it open, we recommend taking a clean toothbrush and gently scrubbing out the track to keep it fresh and prevent it from jamming in another region along the teeth. When cleaning your motorcycle equipment, we recommend taking extra precautions to avoid getting oil or other cleaning agents on the leather itself, as this may cause damage or leave marks.
One helpful tip for repairing a broken zipper on your motorcycle gear is that the zipper itself may be perfectly fine. If your track is still in good condition, you may not need to perform a complete replacement. Look for any significant damage, such as multiple missing teeth or rips along the edge of the track. If the problem lies in the slider, you may be able to repair or replace that piece without needing to swap out the entire zipper.
The first thing we recommend is carefully examining the head of your zipper. Most motorcycle gear has metal sliders, so it’s possible that it merely became warped or bent throughout its use. If this appears to be the case, the solution may be easier than initially anticipated.
Using a pair of needle-nose pliers, you may be able to pinch and bend the slider back into a working condition. If this doesn’t work, you may need to use your pliers to tightly squeeze the entire body of the slider. If none of these options work, it may be time to consider buying a replacement zipper slider and swapping it out, which may require some additional work.
Before replacing your zipper head, you should check a few things. Carefully examine the back of the slider on your jacket or gloves to see if there’s a number. This number will give you a rough idea of what size zipper replacement kit you need. For example, many jackets are a five. Ensure that you’re buying a suitable size replacement for your slider before attempting to fix it. There are many great zipper kits on the market, so aside from size, you can also look for ones that come in specific colors and shapes for the zipper tab.
Once you have your zipper repair kit and the pliers you were using earlier, you’re ready to swap out the slider. Use the pliers to remove the top stop—the small, flat piece of metal up at the top of your zipper track. This piece is what stops your zipper from sliding off entirely when your zip it up. So once you gently remove it with the pliers, your old slider should slide right off the track.
Once you remove the old slider, put the new slider on. Try moving it up and down to ensure it fits appropriately and slides along the track without much issue. If everything seems to be working, you can put a new top stop on the top of the track—your zipper replacement kit should have come with a new one. Place it where the old one was and use the pliers to bend down the prongs to hold it in place.
When putting on the top stop, we highly suggest taking precautions to put the prongs as close as possible to the old ones. That way, you can avoid having extraneous holes in the fabric.
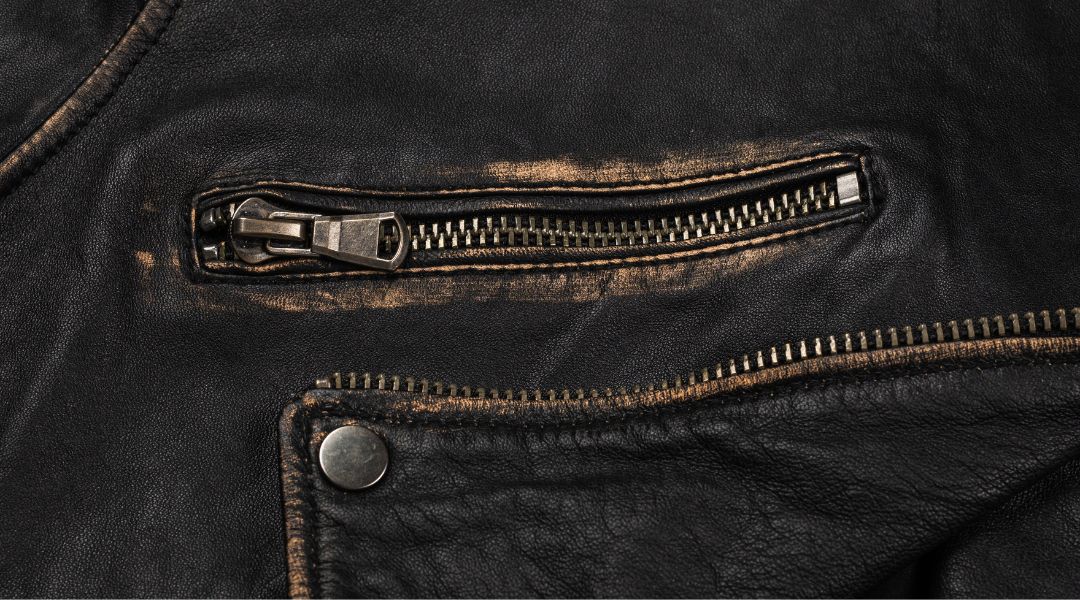
In a worst-case scenario, the problem may run more deeply than the slider or a small jam. A damaged track typically requires replacing the tape, which holds the teeth and other elements together. This process is a little easier for many regular jackets or backpacks and may require some sewing. However, when dealing with leather jackets and other similar apparel, you may need to bring your gear to a professional tailor or similar business to avoid damaging the fabric.
If you choose to repair the zipper on your gear yourself, we recommend taking extra care to ensure you’re repairing it as closely as possible to the original garment. For example, use the right thread to reattach it and keep the zipper tape roughly the same color and material as your source gear. You will need to take special care when removing the zipper. When installing the new one, try to attach the top stop, bottom stop, and insertion pin as straight as possible.
If you have any additional questions, comments, or concerns about replacing the zippers on your motorcycle gear, garments, or other similar items, contact FixnZip. Our experts have the information you need and a handy variety of replacement zipper parts to help you with your next project. Browse through our catalog or contact us anytime for additional help or details from one of our specialists.