The superior fastener, zippers are on all sorts of items, from backpacks to jackets. But if you sew, you can customize them for any kind of use. The most common type of zipper used for sewing is known as a continuous zipper, which is a long chain. Use this sewer’s guide on how to shorten a zipper to find out how to work with this material.
Learn ways to shorten any type of zipper with our how-to guide. Whether you use a sewing machine or sew by hand, you’ll find what you need to know. Keep reading to learn more about working with zippers.
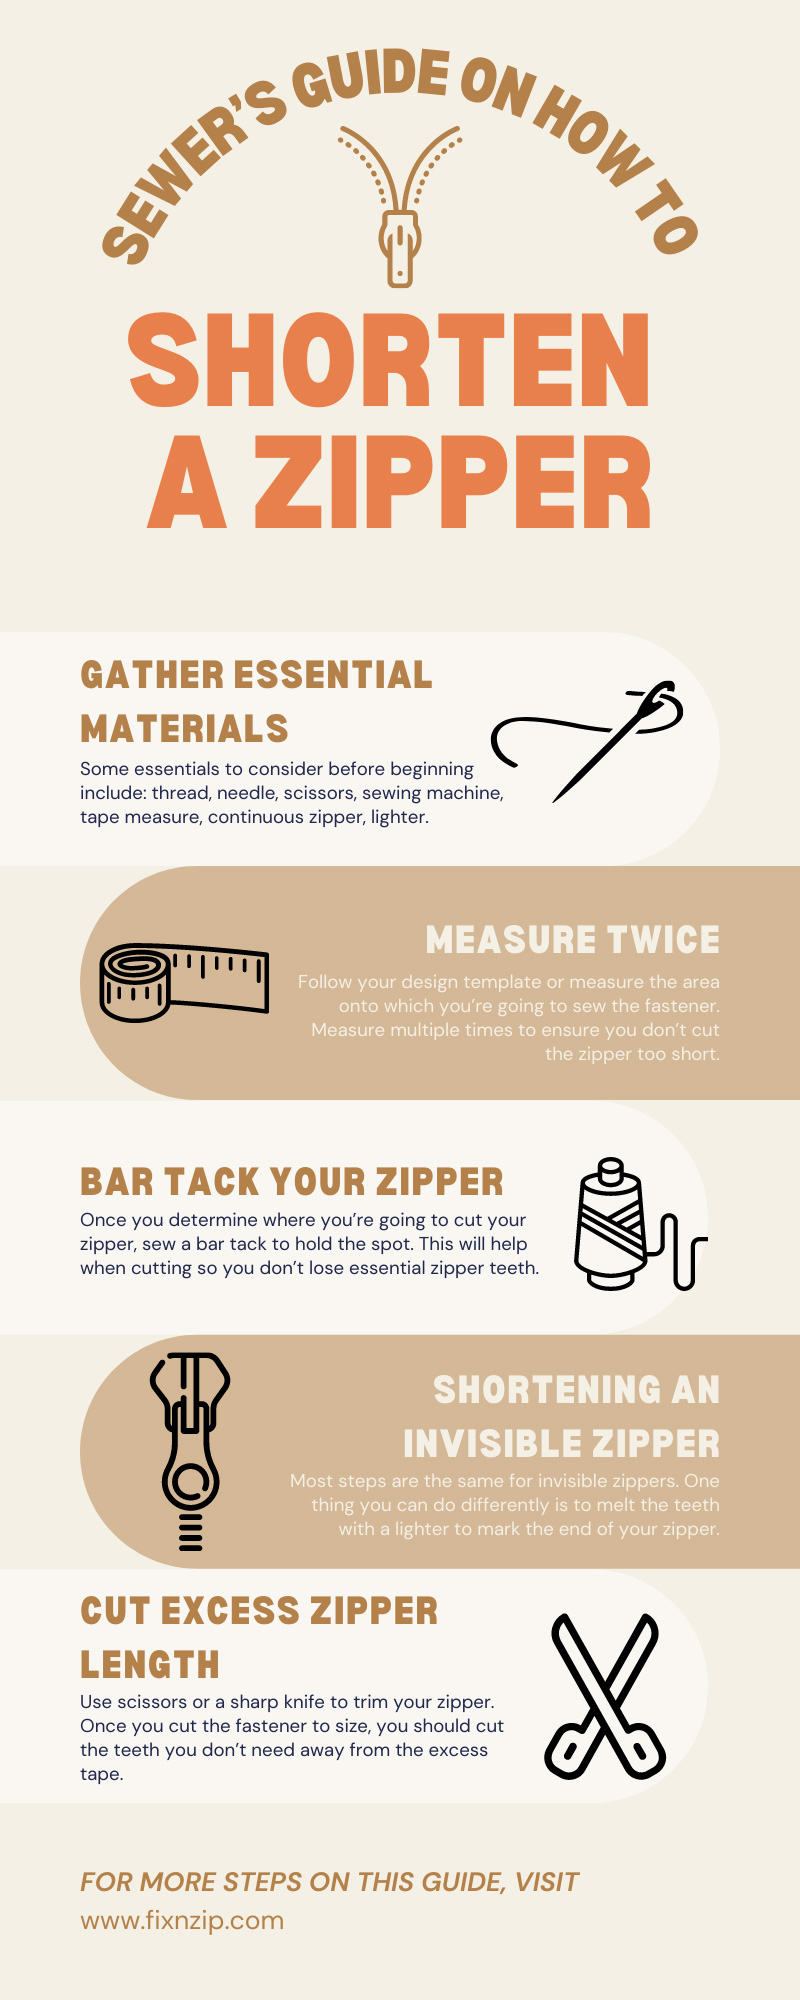
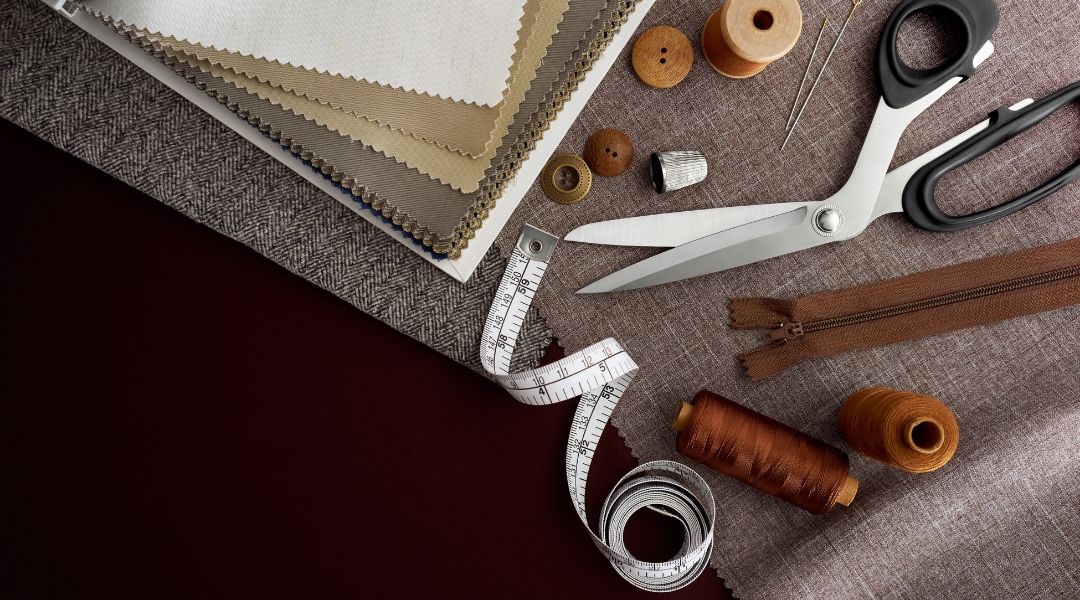
Before you start hacking away at a zipper you wish to shorten, gather the essential materials you’ll need to complete the project. It only requires a few items to change the length of a zipper, and you may have alternatives. Some essentials to consider before beginning include:
The first step to shortening a zipper is determining how long you want it to be. Follow your design template or measure the area onto which you’re going to sew the fastener. Measure multiple times to ensure you don’t cut the zipper too short. When shortening a zipper, you should measure from the bottom stop. Leave at least two centimeters of excess material and remember to mark where you want the zipper to end. You can use chalk to mark where you want your zipper to stop.
Once you determine where you’re going to cut your zipper, sew a bar tack to hold the spot. This will help when cutting so you don’t lose essential zipper teeth. You can create a bar track by hand or with a machine. You’ll make zigzag stitches to form the track and hold the material in place. If using a machine, you simply need to put the setting on a wide zigzag stitch that you keep close together to form a line.
Most steps are the same for invisible zippers. One thing you can do differently is to melt the teeth with a lighter to mark the end of your zipper. Since it uses plastic teeth, this technique will create a stop, meshing the teeth together.
Use scissors or a sharp knife to trim your zipper. Once you cut the fastener to size, you should cut the teeth you don’t need away from the excess tape. This will leave you with two pieces of tape hanging from the zipper. You can use them to sew the zipper to your item.
To remove teeth from any type of plastic zipper, you can cut the chain away. Use scissors to trim close to the coil. You can also use scissors to cut through plastic. Plastic coil zippers are easier to work with because they’re flexible and versatile.
Working with metal fasteners is different from plastic. You can’t cut the teeth away without destroying too much of the tape and chain. You’ll use pliers to remove excess teeth from a metal zipper. After you cut the chain, you should split it and remove each individual nob that you don’t need. Be careful while using pliers. The teeth won’t slide off easily, so you may need to work at them for a time.
Every zipper has stops. Stops are the pieces at the top and bottom of the zipper that prevent the slider from falling off. Working with continuous zippers gives you options to customize your fastener. Even if you are changing the length of a metal zipper, you’ll need to add new metal stop to the bottom of the chain.
You can add stops or a box and insertion pin depending on the type of zipper you need. Use the box and insertion pin elements for separating zippers. Remember to consider whether you want the pin on the left or right.
Once you add the stops to the bottom of the zipper, you’ll need to close the ends. Use a backing tape to attach the excess ends and keep them in line with the original zipper shape. Sew zigzags across the tape and backing for a secure hold. The tape will help hold the stops in place on a non-separating zipper.
Once your zipper is complete, you’ll need a slider so you can operate it. Some come with fasteners, but you may need to add your own. Use a zipper repair kit such as the FixNZip to attach a slider with ease. If using a traditional pull tab, you can slip it onto the zipper when it’s open or closed. Simply slide the teeth into the slider so they are even with one another. Then pull the tab to engage the slider and use your zipper.
You may need to shorten a zipper for a myriad of reasons. Perhaps you make clothing like theatre costumes or mend items like trousers and wedding dresses. When the size of these items drastically changes, you may need to shorten the zipper. You can shorten pre-existing zippers the same as a continuous one. Still, you should begin by cutting the zipper away from the fabric and reattach it once it’s the correct length.
Follow our sewer’s guide on how to shorten a zipper and keep these tips and tricks in mind. Always measure before you cut and remember to use a bar tack to hold the teeth in place. Different types of zippers require different techniques. For instance, you can cut through plastic but not metal. Keep in mind how each zipper works so you can create something perfect each time you sew.