A broken zipper on any piece of clothing is enough to make you want to cry. However, when that piece of apparel is a dress, it's disheartening. You can utilize a jacket, coat, or possibly even a pair of pants without a zipper. But when a zipper comes loose on a dress, you'll leave it on the hanger until you repair it.
Several things can go wrong with the dress fastener, so it helps to know what you're looking for and how to fix it before you lose all hope. Use this simple guide on how to fix a dress zipper so you can use this skill for the rest of your life.
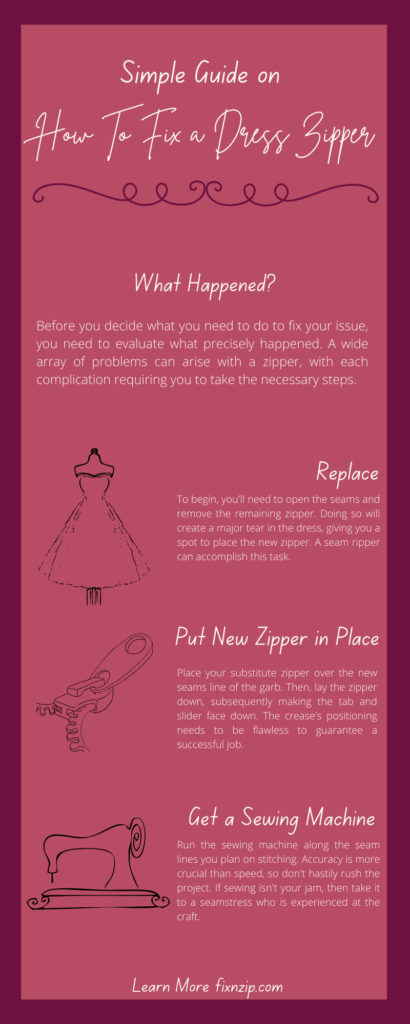
Before you decide what you need to do to fix your issue, you need to evaluate what precisely happened. A wide array of problems can arise with a zipper, with each complication requiring you to take the necessary steps. Thus, let's go over the hurdles you may need to jump through if your fastener gives you a headache.
Of all the problems a zipper can cause, this one might be the most maddening. We've all had the moment where a zipper goes up and down on the tracks, but it won't clench. The odds are this is your favorite dress because this problem occurs due to overuse. Luckily, there's no need to retire your beloved piece of attire since this problem is fixable.
Rather than taking the entire zipper apart, you should attempt to replace the slider with a zipper repair kit or a pair of pliers. Make the side gap narrow until you correct the slider, and repeat the process with the lower and upper gaps. Proceed with caution because you don't want to break the slider altogether.
The fabric that binds the zipper to the dress may tear, requiring you to follow similar steps if it doesn't close. You will need to use those pliers to make the slider wider and smoothly put the teeth on each side. Go ahead and test it out to see how things are fitting. If it's still off, you can adjust with the pliers to reattach it effectively.
When you are in a rush or feel flustered, you might hastily try and zip your dress up. The swift motion may cause the fabric to stick in the zipper's teeth. Any misalignment of the teeth can throw a zipper off, including loose hair. If it is something small like hair, you should be able to remove the hair with no issue.
It's feasible to misplace the zipper tab, despite being hard to imagine it happening. Fortunately, this mishap isn't serious enough to keep the zipper from working. Some intuition and simple resources can fix this crucial part of the zipper.
Another side effect of overusing a zipper is that it can become strangely slow. But there is an uncomplicated answer to this dilemma: lubrication. Apply Vasoline, petroleum jelly, or any comparable lubricant and rub it on the teeth. Try to certify that you aren't burying the teeth in wax, or it will move even slower.
Finally, the last and worst, that can happen with a zipper is if it loses some of its teeth. Missing teeth means you will have to replace the zipper completely. You can try any methods above, but it will be a lost cause.
To begin, you'll need to open the seams and remove the remaining zipper. Doing so will create a major tear in the dress, giving you a spot to place the new zipper. A seam ripper can accomplish this task.
Once the seam ripper does its job, you will need to apply a temporary stitch to keep everything together. Turn the garment inside out and pull the seams until they touch, and construct a quick stitch. You'll want to use a different color thread to spot and remove it quickly. Lastly, follow the crease perfectly, so the dress still looks the same.
With the right prep work complete, you can start the repair. Place your substitute zipper over the new seams line of the garb. Then, lay the zipper down, subsequently making the tab and slider face down. The crease's positioning needs to be flawless to guarantee a successful job.
Use the same strategy as the previous temporary stitch to add the new fastener. Although, you will need to lock it in place. This is helpful when using a sewing machine because everything needs to line up seamlessly.
To reinforce the new zipper permanently, get your hands on a sewing machine. Take it safe and slow and confirm the alignment before using the device. You want to guarantee that there will be no snags when the machine is running.
Run the sewing machine along the seam lines you plan on stitching. Accuracy is more crucial than speed, so don't hastily rush the project. If sewing isn't your jam, then take it to a seamstress who is experienced at the craft.
Congratulations on replacing your zipper! This is cause for a celebration, but you'll feel better once the work area is spotless. Pick up the tacking stitches and discarded threads that made their way to the floor. Once everything is pure again, you can test your craftmanship and see if the new zipper is adequate.
Hopefully, this simple guide on how to fix a dress zipper finds you well. At FixnZip, we are here to help you in your time of despair and fix that zipper before you give up on that dress and other apparel for good. Our sturdy replacement zippers will fix anything from a dress to a tent to your Jeep's canvas! Our FixnZip replacement fasteners are compatible with metal and plastic to prevent you from needing replacement zippers again. Please contact us with any questions about our products. We’re more than happy to help!