Rips, tears, and stubborn zippers can ruin the aesthetic of your living room couch. Knowing these tips for repairing zippered cushions and furniture shows that a steady hand and sewing abilities will make it look brand new.
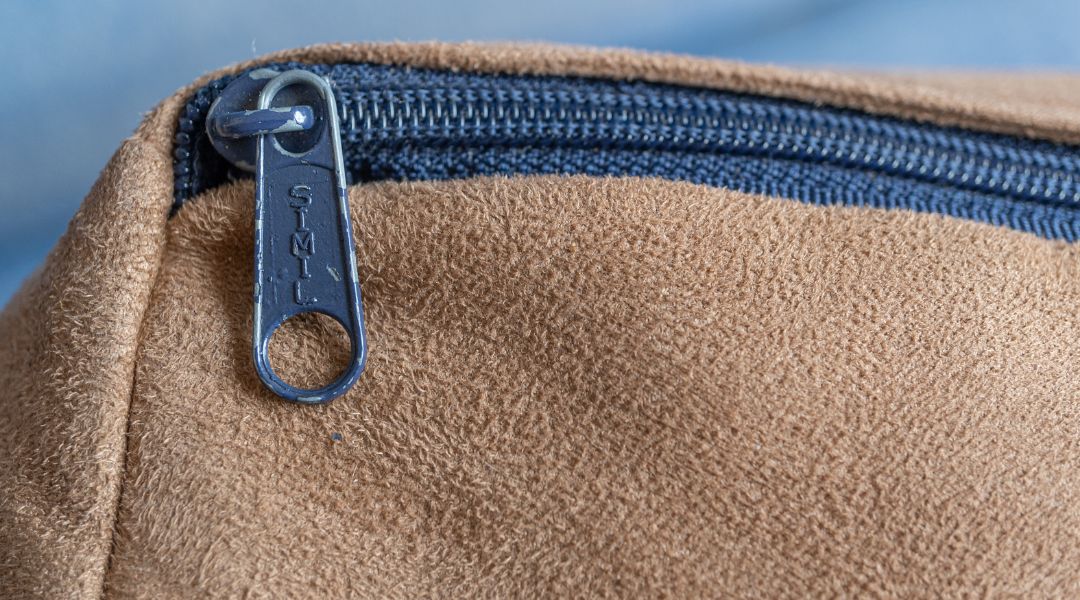
Remove the cushion by unzipping or opening the cover. Inspect the zipper to see the glider's condition. If the glider is still inoperable, look at the zipper's teeth to determine if they’re twisted or missing.
Assuming your teeth are only out of line, you can force them back into place with needle-nose pliers. A speck of dirt can be enough to throw a fastener off-kilter, which may be the culprit in your instance. Another possibility is a tear in the fabric, requiring you to use an adhesive to solve that issue.
Detach the non-locking glider off the zipper's teeth. Considering furniture cushions often use a continuous zipper, you can shorten the fastener to your desired measurements. You might have to remove stitches obstructing the zipper's path before reattaching the slider.
Test your handiwork to see if the zipper is fully functional. If so, sew the seam you opened and put the cushion back into the cover.
Take off the cushion's cover and turn it inside to see the damaged zipper. Presuming it is a continuous zipper on your cushion, you'll need a zipper approximately two inches longer than the previous one.
Remove the broken zipper using a seam ripper; you should be gentle because you don't want to damage the material. Typically, the fabric material will have a couple of flaps guarding the zipper on the exterior.
Cut an inch down each side of the teeth with your new zipper at its appropriate length. Use your fingers to separate the fastener and put the glider on one side. If you attach it on one side, you shouldn't have an issue on the other.
Place the new zipper in its rightful place of the damaged one and fold the fabric marginally. With the folds being the same width as the zipper's side material, keep it in place to sew a straight stitch 1/8th of an inch along with the outside teeth. Ideally, you'll use a sewing machine for this job but you can do it the old-fashioned way as well.
Lastly, use a stitch to give the zipper a stopping point. However, double-check to ensure that stitch is across the teeth, or else it won't hold your glider.
With these helpful tips, you'll have no issues repairing any damaged zippered cushions and furniture. Using a FixnZip zipper repair kit will expedite the process, providing quality results for your finest cushions. Please browse our selection and how our one-of-a-kind zippers can benefit you.