When you ride your motorcycle at fast speeds down the highway, it’s normal for your gear to take a little wear and tear. Because of everything from regular bending and use to the heat and speed on the road, the zippers on your gear may need some maintenance. No matter what damage you’re dealing with, we’ve got some helpful tips for repairing a broken zipper on your motorcycle gear. These tips will make your jackets and gloves feel fresh and make you ready to get back on the bike.
Sometimes, you get lucky, and the zipper on your gear may not actually be broken but rather jammed or stuck. Riding on the road often kicks up a lot of dirt and debris that may make its way into the zippers of your gloves or jacket.
If this goes on for too long, your zipper may get stuck and feel like it won’t work anymore. Thankfully, repairing a jammed zipper is a relatively quick and easy process. You can use a designated lubricant to loosen it up or utilize items from around the house.
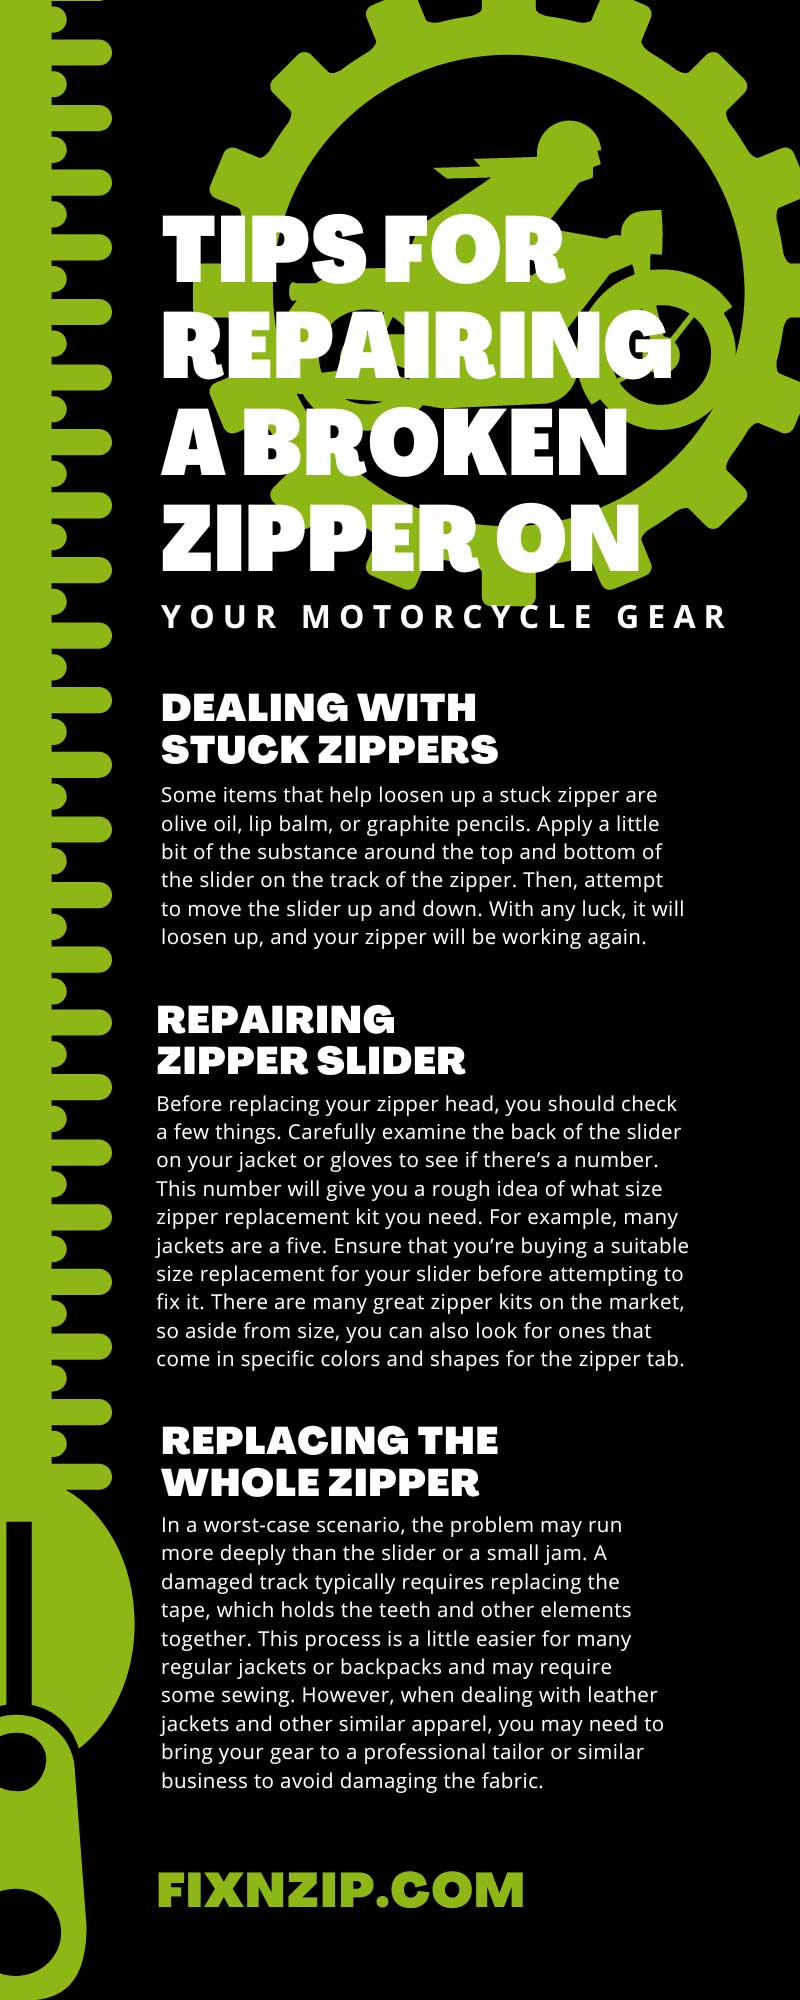
Some items that help loosen up a stuck zipper are olive oil, lip balm, or graphite pencils. Apply a little bit of the substance around the top and bottom of the slider on the track of the zipper. Then, attempt to move the slider up and down. With any luck, it will loosen up, and your zipper will be working again.
Once you have it open, we recommend taking a clean toothbrush and gently scrubbing out the track to keep it fresh and prevent it from jamming in another region along the teeth. When cleaning your motorcycle equipment, we recommend taking extra precautions to avoid getting oil or other cleaning agents on the leather itself, as this may cause damage or leave marks.
One helpful tip for repairing a broken zipper on your motorcycle gear is that the zipper itself may be perfectly fine. If your track is still in good condition, you may not need to perform a complete replacement. Look for any significant damage, such as multiple missing teeth or rips along the edge of the track. If the problem lies in the slider, you may be able to repair or replace that piece without needing to swap out the entire zipper.
The first thing we recommend is carefully examining the head of your zipper. Most motorcycle gear has metal sliders, so it’s possible that it merely became warped or bent throughout its use. If this appears to be the case, the solution may be easier than initially anticipated.
Using a pair of needle-nose pliers, you may be able to pinch and bend the slider back into a working condition. If this doesn’t work, you may need to use your pliers to tightly squeeze the entire body of the slider. If none of these options work, it may be time to consider buying a replacement zipper slider and swapping it out, which may require some additional work.
Before replacing your zipper head, you should check a few things. Carefully examine the back of the slider on your jacket or gloves to see if there’s a number. This number will give you a rough idea of what size zipper replacement kit you need. For example, many jackets are a five. Ensure that you’re buying a suitable size replacement for your slider before attempting to fix it. There are many great zipper kits on the market, so aside from size, you can also look for ones that come in specific colors and shapes for the zipper tab.
Once you have your zipper repair kit and the pliers you were using earlier, you’re ready to swap out the slider. Use the pliers to remove the top stop—the small, flat piece of metal up at the top of your zipper track. This piece is what stops your zipper from sliding off entirely when your zip it up. So once you gently remove it with the pliers, your old slider should slide right off the track.
Once you remove the old slider, put the new slider on. Try moving it up and down to ensure it fits appropriately and slides along the track without much issue. If everything seems to be working, you can put a new top stop on the top of the track—your zipper replacement kit should have come with a new one. Place it where the old one was and use the pliers to bend down the prongs to hold it in place.
When putting on the top stop, we highly suggest taking precautions to put the prongs as close as possible to the old ones. That way, you can avoid having extraneous holes in the fabric.
In a worst-case scenario, the problem may run more deeply than the slider or a small jam. A damaged track typically requires replacing the tape, which holds the teeth and other elements together. This process is a little easier for many regular jackets or backpacks and may require some sewing. However, when dealing with leather jackets and other similar apparel, you may need to bring your gear to a professional tailor or similar business to avoid damaging the fabric.
If you choose to repair the zipper on your gear yourself, we recommend taking extra care to ensure you’re repairing it as closely as possible to the original garment. For example, use the right thread to reattach it and keep the zipper tape roughly the same color and material as your source gear. You will need to take special care when removing the zipper. When installing the new one, try to attach the top stop, bottom stop, and insertion pin as straight as possible.
If you have any additional questions, comments, or concerns about replacing the zippers on your motorcycle gear, garments, or other similar items, contact FixnZip. Our experts have the information you need and a handy variety of replacement zipper parts to help you with your next project. Browse through our catalog or contact us anytime for additional help or details from one of our specialists.
You may take the zipper on your clothes for granted, but it has a rich history of how it came to be. Learn these surprising and fun facts about the zipper and improve your trivia game.
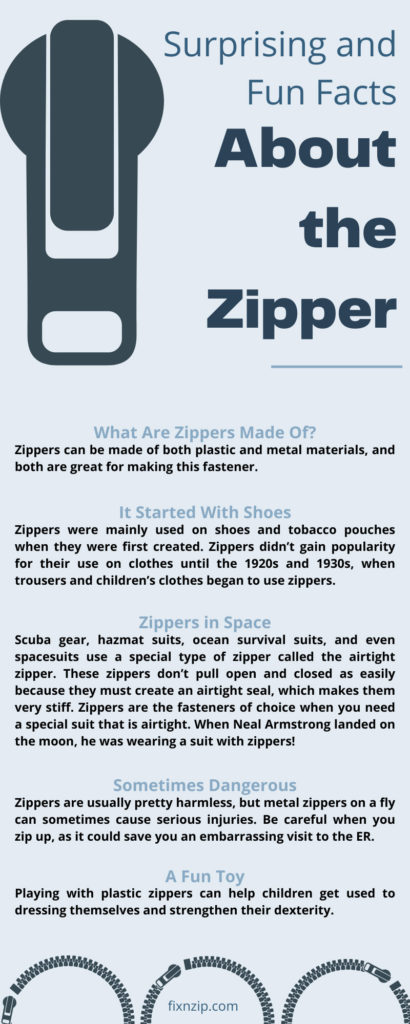
Zippers are comprised of four elements. The “stringer” or “tape” is the cloth at either side of the zipper. The teeth are the small interlocking parts of the zipper. The zipper slider is the part which opens and closes the teeth as it slides over them. The zipper tab is the part of the zipper you use to pull the slider. Most zippers also contain a top and a bottom stop at either ends of the teeth. Zippers can be made of both plastic and metal materials, and both are great for making this fastener.
Zippers are a very versatile fastener. They’re not just on your jeans! A few uses for zippers include clothing, shoes, luggage, camping supplies, and much more.
Zippers are no joke in the business community. In the US, people utilize 4.5 billion zippers every year. That’s a lot of zippers per person!
People give credit to a few inventors for creating the zipper, but only one invention really resembles the zipper we use today. Elias Howe is sometimes credited with creating the zipper, but his invention more resembles an elaborate drawstring. Whitcomb Judson is also commonly cited as the inventor of the zipper, but his device, the clasp locker, is more of an elaborate hook-and-eye fastener. The true inventor of the zipper we know today is Gideon Sundback. Sundback’s device included teeth and a zipper slider that pulled them to a close, so he is the true inventor of what we know as a zipper. Without Gideon Sundback’s patents in 1913 and 1917, we would still be buttoning our flies closed.
The first few attempts at making zippers were all while trying to create fasteners for shoes. We don’t often think of shoes first when it comes to zippers, but they have a valuable place on your feet as well as your jeans. Zippers were mainly used on shoes and tobacco pouches when they were first created. Zippers didn’t gain popularity for their use on clothes until the 1920s and 1930s, when trousers and children’s clothes began to use zippers.
Before zippers got their name, “separable fasteners” was the name for zippers. In 1923 the B.F. Goodrich company put zippers on their goulashes and called the closure the zipper. This name, that mirrored the sound zippers make, stuck, and zippers became something we know and love.
The US Military was one of the first big customers buying zippers. They used zippers on US Navy gear in World War I, which lead to the popularization of zippers. The Navy purchased the zippers for use on windproof flying suits!
You’re going to revel in astonishment at this surprising and fun fact about zippers. Scuba gear, hazmat suits, ocean survival suits, and even spacesuits use a special type of zipper called the airtight zipper. These zippers don’t pull open and closed as easily because they must create an airtight seal, which makes them very stiff. Zippers are the fasteners of choice when you need a special suit that is airtight. When Neal Armstrong landed on the moon, he was wearing a suit with zippers!
The Rolling Stone album, Sticky Fingers, featured a photograph of jeans taken by Andy Warhol. The jeans had a working zipper and revealed underwear beneath them, also Andy’s idea. Zippers have earned their place in rock and roll and art history!
In 1954, Levi’s first used the zipper on a pair of overalls, the 501Z. It wouldn’t be until the 1970s that they would begin to use zippers on more of their jeans. Before that, the button-fly reigned supreme.
If you notice a YKK on your zipper, that stands for the Yoshida Kogyo Kabushikikaisha company. The YKK company makes more than 1.5 billion zippers a year and operates in 71 countries with 39,000 employees. Beware, though, as YKK zippers can be counterfeit.
In Outkast’s song “So Fresh and So Clean” YKK gets a shoutout from the group. This is even more evidence that zippers are important in pop culture, and not just clothes!
In the Oscar-winning film Amadeus, set in the 18th century, many of the costumes feature zippers, which wouldn’t have existed at the time. When you’re making costumes for historical films, it’s important to get all the details right.
Zippers are usually pretty harmless, but metal zippers on a fly can sometimes cause serious injuries. Be careful when you zip up, as it could save you an embarrassing visit to the ER.
Most of the world’s zippers are actually made in one place. The Qiaotou region of China produces more zippers than anywhere else in the world.
While your first thought of a zipper may be the one on your jeans, zippers can be concealed, too. Zippers are sometimes hidden under fabric, which is popular for clothing like dresses and skirts.
There are some zippers that lock into place. On a locking slider, the pull tab will only move when it’s lifted. If the pull tab is shut down, the zipper locks and can’t move. Be careful if you check to see if your zipper locks, though, as you could have one that doesn’t and wind up with a broken zipper!
Zippers aren’t only for clothes; they can also become fun activities for kids. Playing with plastic zippers can help children get used to dressing themselves and strengthen their dexterity.
Zippers break every day on clothes, but with Fix N Zip, you can replace broken parts of your zipper. Get replacement zipper sliders from Fix N Zip any time your zipper breaks.
The superior fastener, zippers are on all sorts of items, from backpacks to jackets. But if you sew, you can customize them for any kind of use. The most common type of zipper used for sewing is known as a continuous zipper, which is a long chain. Use this sewer’s guide on how to shorten a zipper to find out how to work with this material.
Learn ways to shorten any type of zipper with our how-to guide. Whether you use a sewing machine or sew by hand, you’ll find what you need to know. Keep reading to learn more about working with zippers.
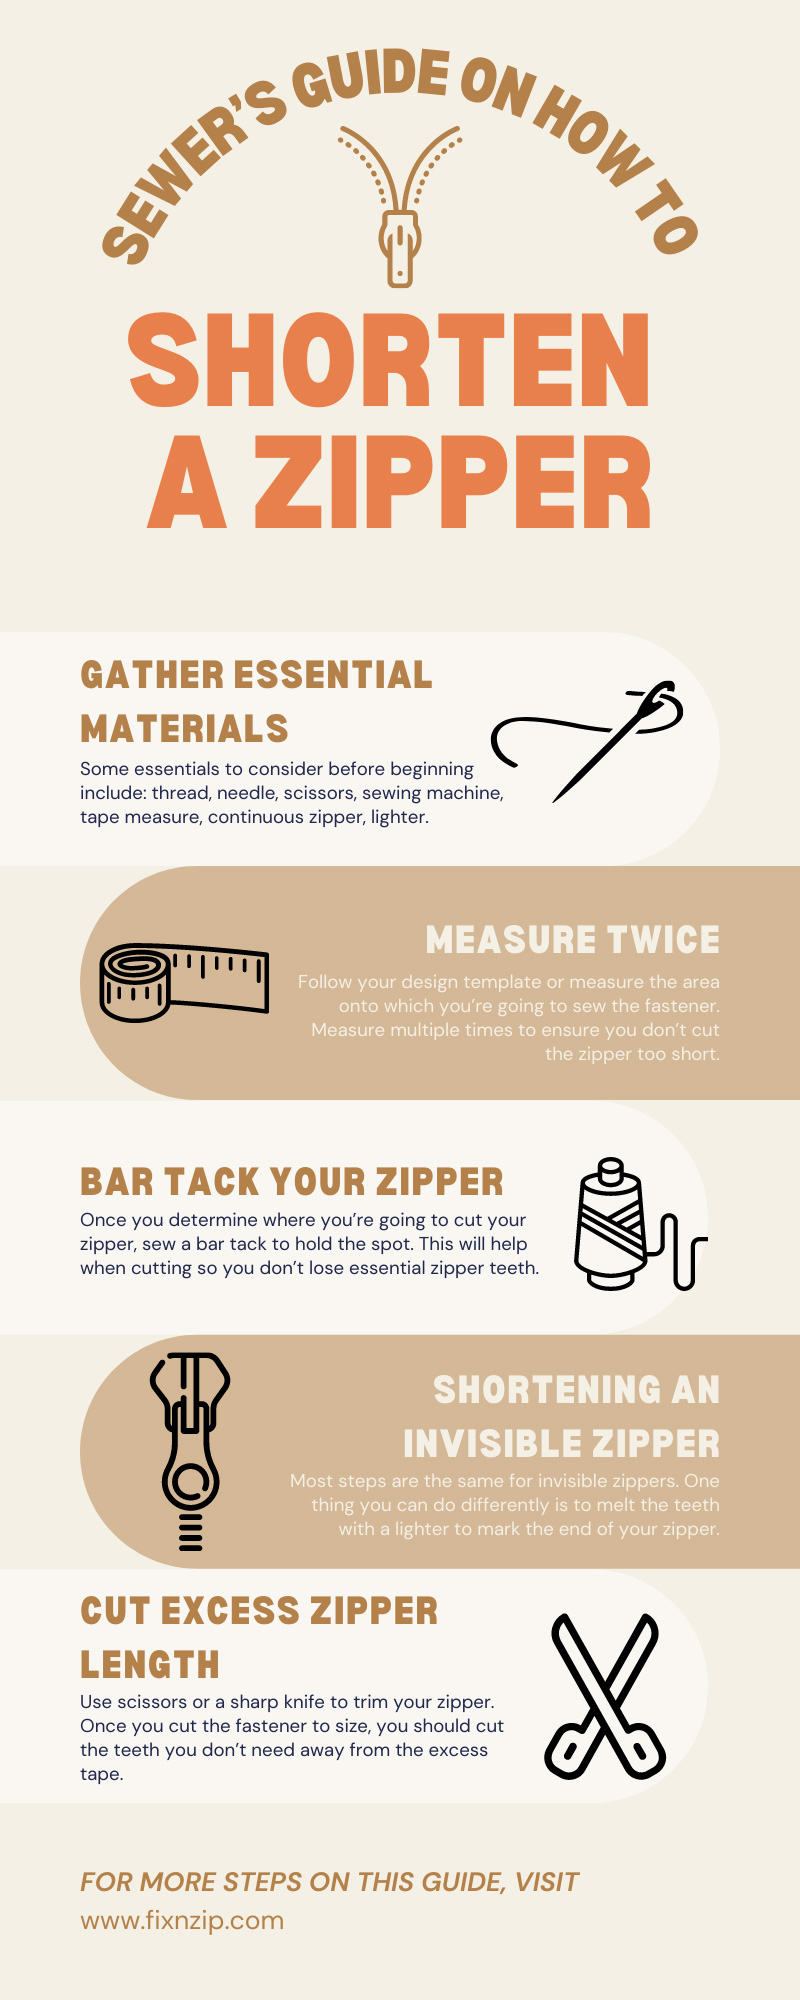
Before you start hacking away at a zipper you wish to shorten, gather the essential materials you’ll need to complete the project. It only requires a few items to change the length of a zipper, and you may have alternatives. Some essentials to consider before beginning include:
The first step to shortening a zipper is determining how long you want it to be. Follow your design template or measure the area onto which you’re going to sew the fastener. Measure multiple times to ensure you don’t cut the zipper too short. When shortening a zipper, you should measure from the bottom stop. Leave at least two centimeters of excess material and remember to mark where you want the zipper to end. You can use chalk to mark where you want your zipper to stop.
Once you determine where you’re going to cut your zipper, sew a bar tack to hold the spot. This will help when cutting so you don’t lose essential zipper teeth. You can create a bar track by hand or with a machine. You’ll make zigzag stitches to form the track and hold the material in place. If using a machine, you simply need to put the setting on a wide zigzag stitch that you keep close together to form a line.
Most steps are the same for invisible zippers. One thing you can do differently is to melt the teeth with a lighter to mark the end of your zipper. Since it uses plastic teeth, this technique will create a stop, meshing the teeth together.
Use scissors or a sharp knife to trim your zipper. Once you cut the fastener to size, you should cut the teeth you don’t need away from the excess tape. This will leave you with two pieces of tape hanging from the zipper. You can use them to sew the zipper to your item.
To remove teeth from any type of plastic zipper, you can cut the chain away. Use scissors to trim close to the coil. You can also use scissors to cut through plastic. Plastic coil zippers are easier to work with because they’re flexible and versatile.
Working with metal fasteners is different from plastic. You can’t cut the teeth away without destroying too much of the tape and chain. You’ll use pliers to remove excess teeth from a metal zipper. After you cut the chain, you should split it and remove each individual nob that you don’t need. Be careful while using pliers. The teeth won’t slide off easily, so you may need to work at them for a time.
Every zipper has stops. Stops are the pieces at the top and bottom of the zipper that prevent the slider from falling off. Working with continuous zippers gives you options to customize your fastener. Even if you are changing the length of a metal zipper, you’ll need to add new metal stop to the bottom of the chain.
You can add stops or a box and insertion pin depending on the type of zipper you need. Use the box and insertion pin elements for separating zippers. Remember to consider whether you want the pin on the left or right.
Once you add the stops to the bottom of the zipper, you’ll need to close the ends. Use a backing tape to attach the excess ends and keep them in line with the original zipper shape. Sew zigzags across the tape and backing for a secure hold. The tape will help hold the stops in place on a non-separating zipper.
Once your zipper is complete, you’ll need a slider so you can operate it. Some come with fasteners, but you may need to add your own. Use a zipper repair kit such as the FixNZip to attach a slider with ease. If using a traditional pull tab, you can slip it onto the zipper when it’s open or closed. Simply slide the teeth into the slider so they are even with one another. Then pull the tab to engage the slider and use your zipper.
You may need to shorten a zipper for a myriad of reasons. Perhaps you make clothing like theatre costumes or mend items like trousers and wedding dresses. When the size of these items drastically changes, you may need to shorten the zipper. You can shorten pre-existing zippers the same as a continuous one. Still, you should begin by cutting the zipper away from the fabric and reattach it once it’s the correct length.
Follow our sewer’s guide on how to shorten a zipper and keep these tips and tricks in mind. Always measure before you cut and remember to use a bar tack to hold the teeth in place. Different types of zippers require different techniques. For instance, you can cut through plastic but not metal. Keep in mind how each zipper works so you can create something perfect each time you sew.
It might surprise you to learn that zippers are complex devices made up of various components. All of their parts work together to keep materials stuck together. A well-working zipper is strong, flexible, and easy to use while complimenting the item it is zipping.
One thing to consider about your zippers is their ability to “lock.” The terms “locking” and “non-locking” refer to how a slider stays in place. Depending on the item, one type of zipper might be better than the other. Explore the differences between locking and non-locking zippers to understand the various elements of your favorite zipped things.
As the name suggests, locking zippers have sliders that “lock” in place. This means that they will not move even when you manipulate other parts of the zipper. A pin installed inside the zipper slider sits between teeth to prevent movement until you pull the zipper tab.
Sometimes tension within an item can put pressure on a zipper, allowing it to open. Locking zippers prevent this from happening. These kinds of zippers work well on things that need more security and usually exist on things like:
The main difference between locking and non-locking zippers is the presence or absence of the locking pin. Unlike locking zippers, non-locking zippers have a mechanism that keeps the slider from moving. This type of slider will move if you pull on the zipper tape or manually separate the teeth.
While a locking mechanism securely binds materials together, non-locking zippers have more freedom to move in any direction. They are less likely to “stay put” when any kind of pressure tries to push it out of place. However, these zippers operate well with things that people need to open or close quickly, such as:
Understanding the various types of zippers allows you to make good decisions about your zipper-related projects and items. Fix N Zip is here to help you make those choices and fix any problems you may encounter along the way. Happy zipping!
Do you pay much attention to your zippers? You might if you spent a lot of money on them. The wonderful world of zippers goes much deeper than coil and molded plastic. What you need to know about luxury zippers is how they’re made and where to find them.
Manufacturers take extra care to manufacture a luxury zipper. They are typically made of metal. Some are handcrafted, and they are typically smooth and easy to use. High-quality zippers look chic and feature zipper sliders that match the teeth in both color and style.
High-quality zippers are used on luxurious items. Expensive bags and jackets feature luxury zippers you don’t see everywhere. These fasteners complement your item and stand out against the fabric. Some feature unique pull tabs that make it look like a unique accessory.
The best brands in the business produce zippers you’d be proud to have on your clothes or accessories. Wear known zipper brands like fashion statements when they appear on articles of clothing and other products. Names to recognize include:
Manufacturers of luxury items use luxury zippers so that their products will last longer and look better. Find jackets and backpacks with luxury zippers for a better experience. Though you may pay a little extra, it’s worth it in the long run. Sustainable fashion starts with high quality. Avoid items with cheap zippers so you can use your favorite things forever.
Once you experience luxury, you may never go back. What you need to know about luxury zippers is that they are made from high-quality materials and found on luxurious items. Crafted with care, these fasteners may still break if you tug on them too hard or at an odd angle. If anything happens to the pull tab on your luxury item, get a metal replacement piece from FixNZip.
Did you recently find an unfamiliar zipper? Making your own clothes is fun until you end up with zippers you don’t know how to use. The differences between separating and non-separating zippers are about more than what you use them for. Find out what makes these fasteners unique.
As the name suggests, separating zippers come apart at both ends. They separate completely and include additional features that allow the fastener to go together and come apart. Separating zippers include a retainer box and insertion pin. Depending on the item, it may have a left or right insertion pin. These fasteners are typically made from metal, plastic, or coil.
Jackets, hoodies, and coats use separating zippers. They are ideal for clothing because they allow you to get in and out of your items easily.
Most zippers have a closed bottom. Closed-bottom zippers don’t allow the zipper to come apart at the ends. They contain stops instead of retainer boxes to prevent the slide from falling off the chain. Common types of closed-bottom zippers include metal, plastic, coil, and invisible.
Pro Tip: You can turn a separating zipper into a closed-bottom one by sewing the ends together!
Most items with zippers have closed-bottom ones. They are common on purses, cushions, marine gear, and more.
To get the right size zipper you need for a project, measure correctly. The right way to measure a zipper is to begin at the retainer box and measure all the way to the slider. Learn more about measuring zipper sizes here.
Pro Tip: Shorten zippers by cutting the chain. You can sew through zippers before you cut to ensure you have the correct length.
There are multiple ways to repair a zipper. It never hurts to have a kit on hand for wardrobe malfunctions. Begin by inspecting the zipper teeth. Remove any threads or fabric that are stuck. Next, clean debris and rust from the zipper. Use a lubricant like wax to keep it clean. If teeth are bent out of place or missing, you may need to use pliers to bend them back. If your slider is broken, use a zipper pull replacement piece to extend the life of your chain.
It’s important to know the differences between separating and non-separating zippers before you order any. Converting zippers isn’t easy, so make sure you know what you’re buying. You can count on FixnZip® to have the zipper repair parts you need. Order today and be ready for your next zipper emergency! Contact us with any questions.
There must be a broken tent zipper epidemic going on, because the majority of the phone calls I’ve received this week are from people who need a tent zipper repair. Actually, it probably has more to do with the fact that spring is here, and people are digging their camping gear out of the garage and finding broken zippers. If you’re having the same problem, just take a deep breath. You’re not alone and there is help.
When it comes to broken tent zippers, it’s usually one of two things: The zipper slider came off or the teeth aren’t connecting anymore. Either way, you can’t close your tent and that’s a problem. In both of the scenarios, the zipper slider (the thing that goes up and down the track, connecting the teeth) is worn out and needs to be replaced. This might come as a surprise, if you recently bought the tent or spent a lot of money on it. Put simply: most zippers are cheap pieces of junk (yes, even the ones on your expensive camping gear). What’s worse is that a lot of manufactures do not warranty zippers. You can try calling the retailer or manufacturer, but most people are told to go buy a new tent. You could always take your tent to an alterations shop or a seamstress. The process usually involves un-stitching the broken zipper and sewing in a new one. This can easily cost over $100, which search the internet for a cheaper solution and end up finding us.
We manufacture a tent zipper replacement called the FixnZip®. It’s easy to use and requires no tools or sewing to install. It’s made of zinc and is nickel plated, so it is strong and built to last. It’s also entirely manufactured/produced/ assembled in the USA. It’s perfect for tent zipper repair, and can also be used on other outdoor gear. We sell it for $9.99 on our online store, and we also have a “Buy 3 get 1 Free + Free Domestic S&H” promo going.
Of course, we think it’s a great solution… we sell it. But don’t just take our word for it. See what other industry pros have said about it:
Watch the Video below to see how to repair a broken tent zipper using FixnZip® (Note: It’s easier to put the FixnZip® on before you set up the tent.)
What Size do I need?
Most likely a Medium. The majority of camping tents use zippers that fall within our Medium size range. The Medium alone fits zipper sizes 5, 6, 7, 8 and will work on nylon, plastic, and metal teeth or coils. Unless it’s a large canvas tent used for outdoor events, there’s a good chance the Medium will work for your tent.
Can I measure my zipper, just to be sure I get the right one?
Absolutely. Click here to use the measuring guide on our website.
Do I need Nickel or Graphite?
It’s a matter of color preference. The Nickel is brighter and the Graphite is darker. Other than that, they are exactly the same.
What if it doesn’t work?
Send it back and we’ll issue you a full refund.
Miscellaneous tips for installing on a tent:
The great thing is that FixnZip® can be used on a tent, sleeping bag, or backpack etc. So don’t wait until you’re out camping and the zipper breaks before you buy one. Keep a spare in your first aid kit just to be prepared. If you have any questions, feel free to call/email, or hit us up on Facebook or Twitter. Now get out there and hit the trail!
Jonathan