When you’re designing your own clothes, choosing the right zipper might confuse you. Understanding the small differences of zippers that any sewer should know will aid your efforts in making the best attire possible.
The zipper that sewers use most often is an all-purpose zipper. It has small teeth and is generally light, with an end featuring a lock that keeps the zipper tape from falling apart. Most articles of clothing use this style of zipper as a closure. For a seam to bend or move with the line of a garment, you’ll need a heavy-duty fastener.
Sewers usually employ invisible zippers for formal wear, as they don’t obstruct the flow of a garment. An invisible zipper has fine teeth that one must sew into the item, hiding it in the seam. The only visible portion is the pull tab, which is usually smaller or less intrusive than those of other zippers.
Invisible zippers aren’t as long as all-purpose zippers, nor are they as colorful. However, any color will do because you can hide them in the seam. Lastly, using special sewing machine feet to stitch an invisible zipper is best, as the feet keep the coil still to hide the stitching.
Separating zippers—you guessed it—separate at the bottom. The type of dividing zipper you may need depends on its length and weight. Metal zippers are heavier than polyester or plastic tooth zippers, and they could weight down something light such as a fleece jacket. In contrast, a heavyweight wool coat would benefit from a metal zipper’s strength and stiffness.
Jean zippers feature brass teeth and a limited slider for a smooth cover flap. This zipper is sturdy and durable, matching jeans’ longevity. Unlike nylon coil and plastic-molded zippers, the strong brass jeans zipper has a nose that closes the asymmetrical seam, so the slider must face the right way.
Some clothing items have unique zippers that only work on that particular item. For example, sleeping bags have extra-long separating zippers that may reach 100 inches long. On the other hand, some materials have small zippers that are only 4 inches long—you’ll likely find those on children’s dolls. Finding these specialty zippers in a retail store is nearly impossible, so you might have to go to a fabric store or look online.
Knowing the small differences of zippers that any sewer should know helps any seamster in their endeavors of selecting the appropriate fasteners. If you need the most effective zipper pull replacement for your project, FixnZip has a vast selection of options available that will suit your needs!
Have you ever been fumbling with your coat and noticed the number on the back of the zipper? You may not know what it’s there for, even though it has a specific meaning. So what does the number on the back of zippers mean? It’s time to find out!
Just about every article of clothing has a size indicator. Zippers are no different because the number on the back signifies the length of the fastener. The number represents the width of the zipper’s teeth in millimeters. The manufacturer measures this when the zipper is in its fastened position and the teeth interlock. In some cases, this is an approximation. Therefore, you may have to delve deeper into the exact number.
The most prevalent sizes you’ll see on a zipper are 4 and 5 (4 mm and 5 mm). As a reference point, items like purses and pillows are usually 4.5 mm. Backpacks and jackets are 5 mm. For tents and other oversized items, you’ll likely see a 10 mm zipper.
It’s worth noting that the number on the back of the zipper doesn’t always correspond to its gauge size. On occasion, that number indicates the mold of the slider. There is a chance that the number you see doesn’t represent the size of the teeth, leading to some confusion. The slider has a different identification on its rear, and you can differentiate and narrow down the precise size you need.
If you enjoy designing clothes, then it helps to know your zipper’s size and weight. You can get a zipper repair kit or purchase a new one to replace a broken zipper on a pillow or dress. But things won’t work well if you buy an 8 mm zipper for something that previously had a 4 mm zipper.
Knowing what the number on the back of zippers means keeps you from giving up on fixing your favorite pillow or piece of attire. FixnZip offers several replacement and repair tools to help you repair anything from a tent to a boat cover. Our kits are compatible with plastic and metal zippers, so we’re your one-stop shop for your zipper concerns.
If there was a Hall of Fame for the most frustrating ordeals that can happen to you on any given day, having a broken zipper would receive a first-ballot induction. On the bright side, fixing the issue is possible with the right tools. Here is how to fix a zipper with the slider on one side of the track.
The first step of the process is so obvious that many people may forget it because they’re so frustrated about their broken zipper. Inspect the fastener and the track to see if the zipper is truly is off on one side of the track.
A thorough check may lead to other discoveries like bent or missing teeth. Once you find the source of the inconvenience, you know what you’ll need to do. Put something in place of the missing teeth, like masking tape, so the link can reconnect.
Pliers are your best friend when you’re trying to get the alignment where it needs to be. Grab your trusty set of pliers and make sure your grip is steady yet gentle. Open the sliders to expose the end of the tracks. Be careful, though—putting too much force on the slider will cause it to break or chip the paint, which will stop your repair process.
If you’re dealing with a wider slider, you should be able to put the tracks back on the mechanism. At this point, grab a fork and place the slider on the center throngs. Then, gently pull the fork up to get the slider on each side. If it isn’t moving smoothly, add some lubricant so the zipper can move easier.
The final step is to ensure the sliders are secure and tight. Once it’s all reconnected, give a few tests to see if things are smooth as before. If they are, you are officially an expert. You’ll be a precious asset to all your friends and family when they inevitably have the same mishap.
Knowing how to fix a zipper with the slider on one side of the track will take patience before you can master it. However, once you can maneuver around any zipper sliders, the aggravation of an off-track clasp will no longer frustrate you! FixnZip has a zipper slider replacement for all your fastening items like coats, tents, suitcases, and more. Check out our shop today to find the answers to your problems.
Not all zippers are made the same. You’ll find that some are better quality than others, which is why you may need to know how to install a slider onto a zipper chain. If your zipper breaks, quickly repair it. Here are several ways to install a slider.
Also known as a pull tab, a zipper slider is the piece that opens and closes the teeth of the zipper. It includes a body, bridge, and tab, which are typically made of the same material as the teeth. Without a slider, you can’t use your zipper, so they’re essential.
You may need to add a slider to a zipper for a few different reasons. If you make your own clothes, you can purchase continuous zippers. You should cut your zipper to size before adding a slider.
You may need to repair your zipper if the slider becomes cracked or detached. Remove the existing slider before putting on a new one.
There are multiple ways to attach a slider to a zipper. The easiest way is to leave both ends of the teeth together and slip the slider over both at the same time. If you’re using a non-locking zipper, you’ll need to separate the chain once you install the slider. Another option is to split the teeth and insert the slider one side at a time for a separating zipper.
One of the easiest ways to repair a zipper is with a zipper pull replacement kit. Use FixNZip to easily replace a broken slider on any zipper. Simply open the thumbscrew and slide the FixNZip over any portion of the teeth. Then, slide the other side of the chain into the slider and tighten the thumbscrew until it’s tight enough to close the teeth. Knowing how to install a slider onto a zipper chain can save you in a pinch!
Invisible zippers are essential for all sorts of reasons. They exist on your favorite dresses, backpacks, and other quality items. A hidden zipper allows for function without sacrificing style, but how do they work? Find out what makes an invisible zipper invisible.
Invisible zippers are specific types of zippers that you can’t see on clothing. They typically have a plastic coil to allow for flexibility and stability. At best, you might see a seam where an invisible zipper is hiding.
When you separate invisible zippers, you’ll notice that the teeth fold in toward the fabric. This characteristic is what helps make them invisible, as it prevents the zipper from showing. Since they coil in, you need to iron the zipper before sewing it onto a garment. Further, you must line the zipper pieces up with your edge to ensure they attach but don’t show.
If you don’t have an invisible zipper, you can create one. By making a lap, pocket, or fly front, you can conceal the zipper with the fabric of your garment. This makeshift invisible zipper has the same effect as an actual one.
Invisible zippers are necessary for several reasons. Clothing manufacturers hide them for style. Certain outfits require zippers but look better without them. Furthermore, some items require hidden zippers so that the fasteners don’t get wet. For instance, high-quality camping equipment and marine gear may feature invisible zippers so that they’re more likely to stay clean.
Even the nicest zippers can separate and jam. Especially with high-quality items, it’s smart to keep a zipper replacement kit on hand. Knowing what makes an invisible zipper invisible is important if you own waterproof gear. It may be critical to the function of your equipment. Keep your zippers in good shape to maintain the integrity of your clothing, backpacks, and more.
Measure twice—cut once. The sign of a good crafter is in the precision of their work, and the same is true with fasteners. One of the trickiest items to sew, zippers require careful measuring. Your jacket may not fit quite right, and your backpack might not close properly if the zipper is too long or too short. Understanding the ways to measure zipper lengths correctly is essential, whether you’re creating something from scratch or making a repair. Even if you measure multiple times, you must know what you’re doing with zippers.
Figuring out the length of a zipper is different from its gauge. Still, we’ll discuss how to determine both, so you’ll always get the right ones for your repair or project. While measuring zippers is simple, it’s not necessarily common sense. Use this guide to help you determine the size you need.
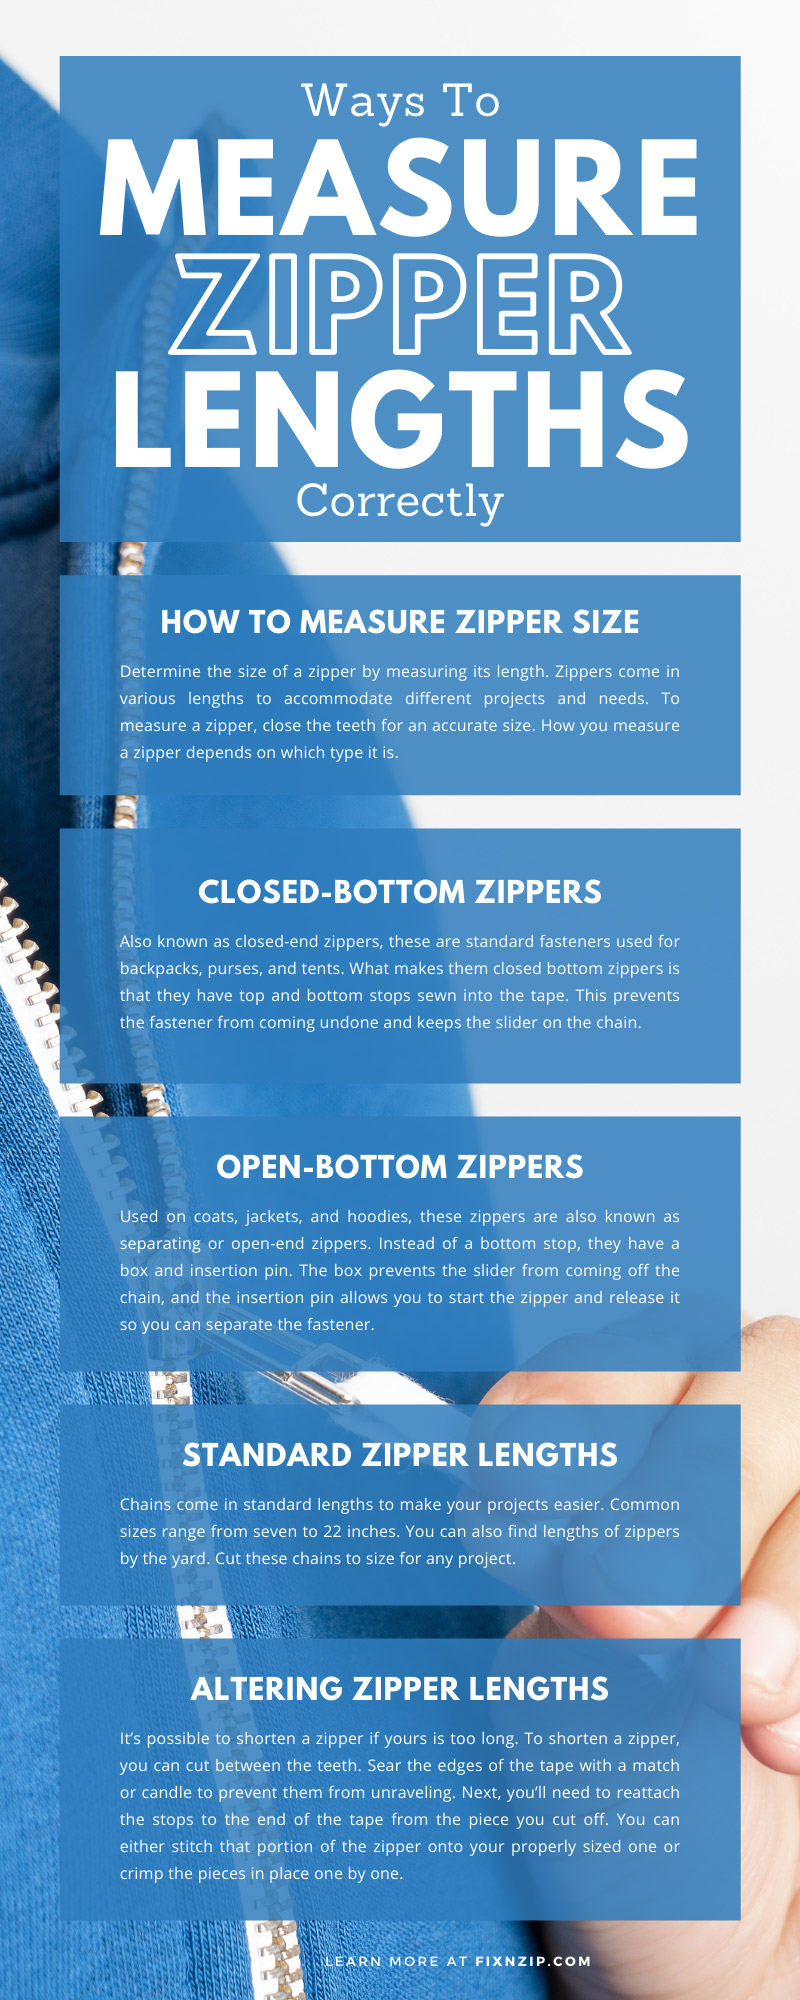
Determine the size of a zipper by measuring its length. Zippers come in various lengths to accommodate different projects and needs. To measure a zipper, close the teeth for an accurate size. How you measure a zipper depends on which type it is.
Also known as closed-end zippers, these are standard fasteners used for backpacks, purses, and tents. What makes them closed bottom zippers is that they have top and bottom stops sewn into the tape. This prevents the fastener from coming undone and keeps the slider on the chain.
To find the length, measure from the top stop to the bottom stop. Though the zipper will have excess pieces of tape on the ends, you only want to measure the components of the chain. It helps to lay the zipper flat while measuring.
Used on coats, jackets, and hoodies, these zippers are also known as separating or open-end zippers. Instead of a bottom stop, they have a box and insertion pin. The box prevents the slider from coming off the chain, and the insertion pin allows you to start the zipper and release it so you can separate the fastener.
To measure these types of zippers, pay attention to the space between the top stop and the box with the insertion pin. Your separating zipper may have a left or right insertion pin depending on which way you want it to open. These fasteners also have extra tape at the top and bottom. It helps when sewing the item into clothing.
Chains come in standard lengths to make your projects easier. Common sizes range from seven to 22 inches. You can also find lengths of zippers by the yard. Cut these chains to size for any project.
It’s possible to shorten a zipper if yours is too long. To shorten a zipper, you can cut between the teeth. Sear the edges of the tape with a match or candle to prevent them from unraveling. Next, you’ll need to reattach the stops to the end of the tape from the piece you cut off. You can either stitch that portion of the zipper onto your properly sized one or crimp the pieces in place one by one.
In addition to length, it’s important to know the gauge of a zipper when determining the size. Gauge refers to the width of the teeth and may determine the quality of the fastener and product it’s attached to. Thicker zippers are typically more durable; they work well with sturdy clothing and materials. Though zippers with a higher gauge tend to be made of strong materials like metal, smaller ones are typically flexible because they’re made from quality plastic.
To find out how wide a zipper is, measure it with the teeth closed. Typically, you’ll measure in millimeters. Using a ruler or measuring tape, measure from left to right across the teeth. You may also find the gauge by looking on the back of the slider. Common zipper widths include #3, #3.5, #5, and #7.
The purpose of a zipper is to fasten an item and keep it closed. If your zipper isn’t long enough, it may not perform its function. You want to measure properly when working with zippers to ensure you use the right length. In addition to measuring the zipper, measure the space where you plan to insert your fastener, so you know which size you need.
You may measure zippers to make clothing or repair them. Either way, you’ll want to keep them clean, so you don’t have to replace them time and time again. The best ways to keep zippers in good condition include:
Check descriptions when ordering zippers to ensure you get what you need. The best places to find full chains of various sizes are craft stores and online retailers. If you are repairing an item, use the opportunity to make your zipper stronger.
For instance, if your slider or pull-tab breaks, replace it using a zipper repair kit from FixNZip. The durable replacement slider is made of nickel and easy to use. Simply open the thumbscrew and place the tab over the chain. Next, tighten it enough that it will glide and close the teeth. This unique zipper kit comes in various sizes to accommodate any gauge or chain.
Whether you’re repairing clothing or making something new, you’ll need to measure. Know the ways to measure zipper lengths correctly to avoid mistakes. It’s common to order the wrong size because you mismeasured. To find the length of a zipper, you’ll just measure the metal or plastic portion. Don’t include the excess tape at the ends or you’ll end up back at the craft store. The gauge is just as important as the length. Ensure you’re using quality zippers when you pay attention to the width and material. Lastly, maintain your zippers so you don’t have to keep repairing them. Keep a repair kit around so you never have to stress about a broken zipper again!
While packing your bags for an extended vacation, you struggle to close your suitcase and the zipper breaks. It’s bad timing because you leave tomorrow and don’t have time to buy a new bag. Luckily, you can fix the zipper just in time. Find out how to replace the zipper on a luggage bag and discover ways to make zipper repair easier in the future.
Before you decide to replace the zipper on your luggage, inspect the slide and teeth. Zippers can become stuck for a myriad of reasons. Remove any threads or fabric from the zipper and clean away any dirt. To work correctly, your zipper shouldn’t be missing any teeth or have any broken pieces.
If you must replace the slide on your zipper, you’ll likely need pliers. To replace a traditional slide, use pliers to loosen its grip on the teeth until you can slide it off. Next, you can place a new zipper slide on the teeth and use the pliers to tighten it. Keep in mind, you'll have to find the exact zipper size, and zipper type (coil, plastic tooth, or metal tooth) as the original slider, otherwise it won't work. Also, taking a pair of pliers to the original zipper and slider runs the risk of damaging the zipper teeth beyond repair.
Another zipper head replacement option is to use a FixNZip. This universal device fits on any zipper and is easy to use. You don’t need pliers or a sewing kit to replace a zipper when you have a FixnZip, and it's cheaper than having a new zipper professionally installed. Simply loosen the thumbscrew and slide it over the zipper teeth. Next, tighten the device so that it glides over the teeth like a proper slide. You can also check out the video below to see how the FixnZip works and how to install it.
A FixNZip allows you to make zipper repairs on the go. If your luggage breaks while at the airport or anywhere else along your travels, you can fix it right away with this unique tool. Don’t throw out perfectly good luggage just because the zipper is busted! Knowing how to replace the zipper on a luggage bag is key to extending the lifespan of your most essential items.
Zippers are a common invention many people take for granted. The history of the modern zipper dates back more than 100 years, but the way we use it has evolved from its early days. Originally, zippers were used as simple shoe fasteners; they are now used for everything from fashion pockets to heavy-duty camping gear. Put simply, their significance cannot be overstated. Discover a complete guide to the different types of zippers to find out which kinds you use most often and which ones you should look for when purchasing items with zippers.
Part of understanding zippers is understanding their components. This seemingly simple mechanism has many different elements that work together. The zipper was engineered, and without one of its features, the fastener won’t work. The parts of a zipper include:
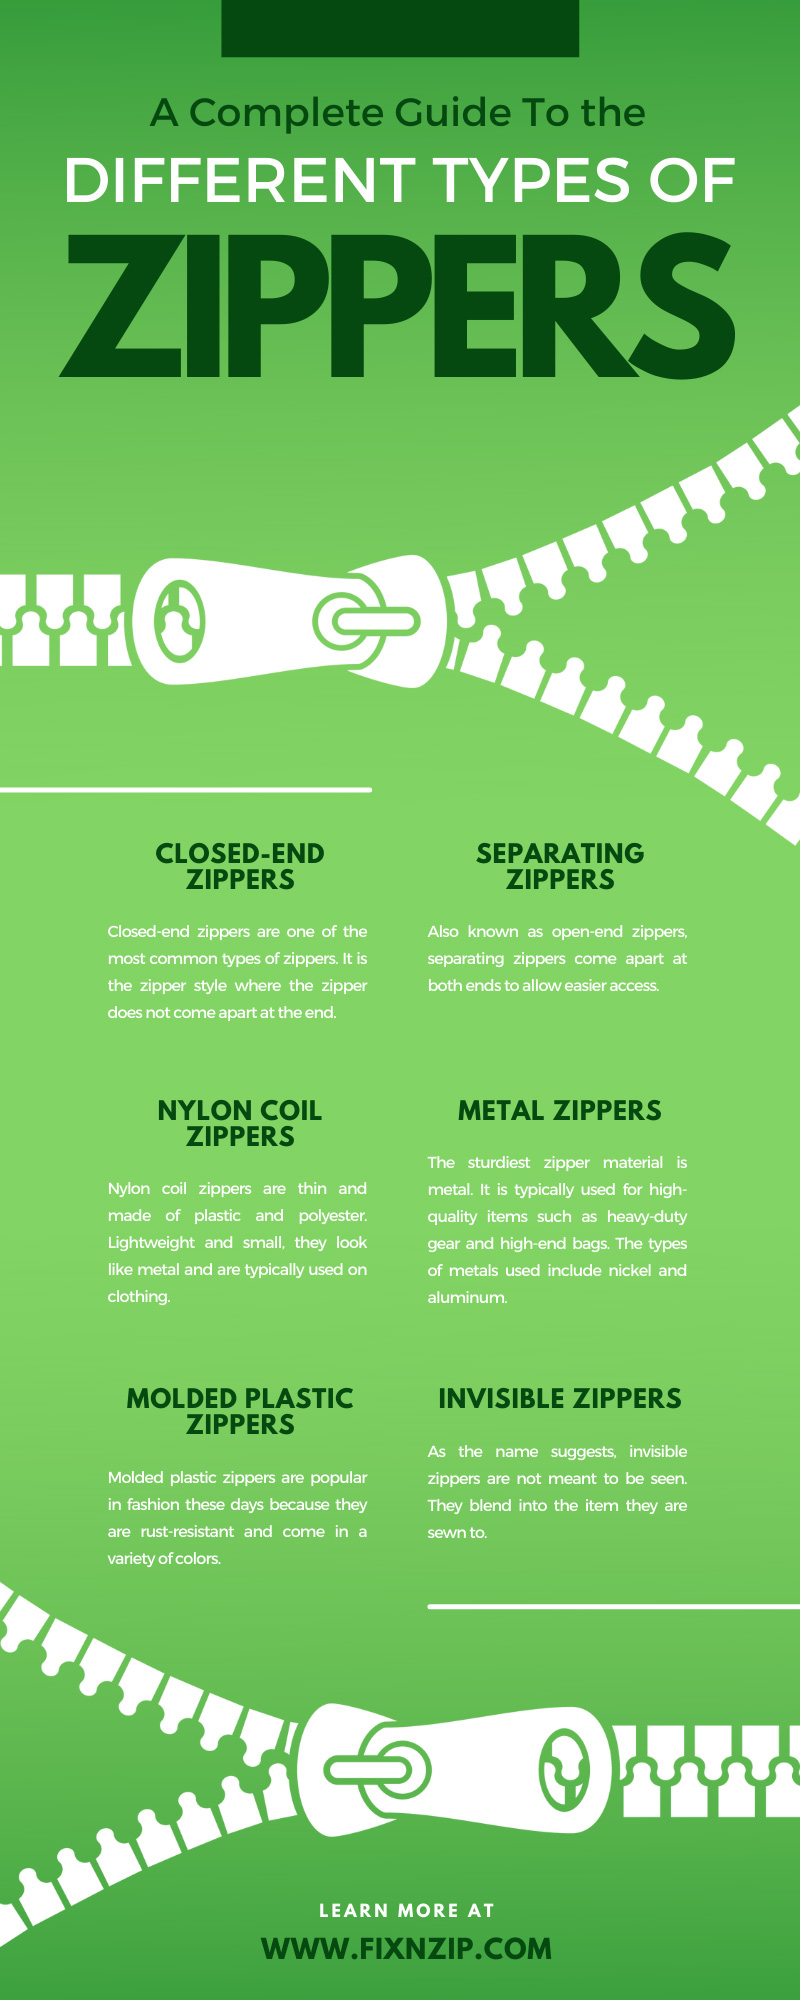
Closed-end zippers are one of the most common types of zippers. It is the zipper style where the zipper does not come apart at the end. Closed-end zippers have a stop at the end to prevent the slider from coming off, so you don’t have to reattach the teeth. It is a common type of zipper used on bags and are extremely easy to fix.
Also known as open-end zippers, separating zippers come apart at both ends to allow easier access. It uses a box and pin mechanism by which teeth are inserted into the slider. Separating zippers are common on jackets and other clothing.
When there are two slides on the same chain, you have a two-way separating zipper. It is common on luggage and tents. Two-way separating zippers allow you to customize the placement of the opening on your item.
When it comes to materials, nylon coil is one of the most common types of zippers. Nylon coil zippers are thin and made of plastic and polyester. Lightweight and small, they look like metal and are typically used on clothing. Nylon coil zippers can be made in closed or open-end styles.
Also known as fly zippers, pant zippers are typically short, nylon coil zippers that look like metal. While they are usually used on the front of pants, they can also be used on purses, pillows, and blouses. Pant zippers contain a stopper to prevent the chain from separating at the end.
Nylon coil zippers for bags are longer and often reach nine to 14 inches in length. Zippers designed for bags don’t lock and easily slide. Further, they do not separate at the bottom.
The sturdiest zipper material is metal. It is typically used for high-quality items such as heavy-duty gear and high-end bags. The types of metals used include nickel and aluminum. Depending on the item you are using, your metal zipper can be closed or open.
Molded plastic zippers are popular in fashion these days because they are rust-resistant and come in a variety of colors. The teeth are molded to fit perfectly together and come in all sorts of sizes. Plastic zippers are lightweight. People use them for bags, jackets, and other fashion designs.
As the name suggests, invisible zippers are not meant to be seen. They blend into the item they are sewn to. Typically, invisible zippers are used on clothing like skirts, dresses, and for side seams. The zipper has a narrow pull and is mostly covered by a strip of fabric.
The exact opposite of invisible zippers are exposed zippers, which are meant to be seen. Zippers which deliberately contrast the item they are sewn to are known as exposed zippers. If you can see the colored plastic of a molded plastic zipper or the shade of metal against jeans, the zipper is exposed. Designers choose to expose zippers for stylistic reasons. Some people like the appearance of zippers.
One of the most important types of zippers is the water-repellent zipper. It is necessary for outdoor gear such as marine and camping equipment. Water-resistant zippers must be rust-resistant to survive tough conditions and last a long time. The zipper includes air-tight seals and is nearly invisible due to how well it is secured.
Though not common, lapped zippers are a way to slightly hide your zipper without making it invisible. Designers use a unique stitching style to partially cover the zipper with fabric. Lapped zippers are used in some clothing applications and on backpacks.
Modern zippers are used for just about everything and in every which way. Once society caught wind of the benefits of zippers, they started to replace buttons as the preferred fastener. Zippers offer more security, but they can still break. Even with an understanding of this complete guide to the different types of zippers, you should keep in mind how to maintain your zippers.
If you do experience a broken zipper, you don’t need to worry. While it used to require a skilled hand at sewing to replace your broken zipper, nowadays, you can use a FixNZip universal zipper repair kit for all your zipper mishaps. This means our products work for every zipper type and size. Simply attach the FixNZip to your zipper chain and use it as a replacement slider. Stop getting rid of your favorite items just because the zipper is busted when there is a better way.
The last thing you want to deal with is a broken pull tab or stuck slide, which is why knowing how to replace a zipper on your jacket or fix a broken tent zipper is so crucial. Understanding the main causes of zipper failure can help you avoid common zipper accidents and extend the lifespan of your items that have zippers. Keep reading to find out what to do if you have a broken zipper.
One of the worst zipper problems is when the slide won’t close the teeth of your zipper. It could be caused by the teeth being bent out of shape or something being stuck in them. Or, it could be caused by the slider. If your slider is too loose to close your zipper, you can use pliers to pinch it back together.
Another potential zipper problem occurs when the pull comes off the slider. If your slider is missing its pull, it’s likely old. Perhaps the zipper is corroded or made from cheap materials. Furthermore, you may have tugged on the pull too hard and caused it to fall off.
Due to wear and tear, the entire slide may come off the track. If your zipper is old or made from cheap material, it’s more likely to break. For instance, plastic won’t hold up as well as metal.
Another common zipper failure is the slider getting stuck in the tape. You should inspect the zipper to see if something is stuck in the teeth. A stuck zipper could also mean that the teeth are bent out of shape or that your zipper has missing or broken teeth.
Zipper repair hasn’t always been simple if you aren’t skilled with a needle and thread. Today, if you experience a broken zipper, you can attach a FixNZip zipper pull tab replacement. The universal zipper alternative works in a pinch. You simply attach it to your zipper and use it as a regular slider. While understanding the main causes of zipper failure can help you avoid a broken one, the FixNZip is available for when life happens. Shop our online store to get yours today.
A busted zipper is not the end of the world. Whether you can sew or prefer no-sew techniques, you can replace a zipper on anything with these tips and tricks. For some projects, you might have to figure out how to tell what size zipper slider you need before you get started. Keep reading to find out what to do when your zipper fails.
To replace your zipper, you will first need to determine what material you are working with. The slider must match the material to ensure the pull tab will move over the teeth properly. Common materials used for zippers include:
Look at the number on the tab of your zipper to figure out what size zipper slider you need. The gauge tells you the thickness of the teeth and determines how wide the slider needs to be. Zippers with higher gauges are typically more durable.
If your zipper doesn’t list a gauge number, you may have to measure it to find the right zipper head replacement. While the teeth are closed, measure the distance across them in millimeters. This number will be your gauge. Learn more about measuring zipper size here.
When you purchase a replacement slider, you will have the option to choose a locking or non-locking slider. Non-locking sliders move when any part of the zipper or slider is moved, even by pulling the teeth apart. Locking sliders have a small mechanism that engages to prevent the tab from moving unless you pull on it.
If you prefer the no-sew method, keep a FixNZip zipper replacement slider handy. You won’t have to worry about how to tell what size zipper slider you need because the FixNZip can be used with any gauge and material. Use this universal replacement zipper for emergency repairs and know that its sturdy construction will withstand any situation you put it through. Reach out to us if you have any questions, and order from FixnZip today!